Difference between revisions of "12 S2m Scratch2"
(→Install Scratch2 on Windows system) |
|||
| (7 intermediate revisions by the same user not shown) | |||
| Line 1: | Line 1: | ||
| + | [[File:Webduino_gif.gif|thumb|Overview: [[BPI-Bit]]]] | ||
| + | [[File:Micropython3.png|thumb|[[1 Get the development suite]] ]] | ||
| + | [[File:Micropython2.png|thumb|[[2 Wired connection board]] ]] | ||
| + | [[File:Micropython2.png|thumb|[[3 Try burning the board]] ]] | ||
| + | [[File:Micropython2.png|thumb|[[4 Hello, World!]] ]] | ||
| + | [[File:Micropython2.png|thumb|[[5 Light up all kinds of LED]] ]] | ||
| + | |||
| + | |||
| + | [[File:Micropython4.png|thumb|[[1 Auto series one key burn]] ]] | ||
| + | [[File:Micropython2.png|thumb|[[2 ESPBlocks Beginner's only]] ]] | ||
| + | [[File:Micropython2.png|thumb|[[3 Mpfshell details]] ]] | ||
| + | [[File:Micropython2.png|thumb|[[4 Pycharm IDE programming]] ]] | ||
| + | |||
| + | |||
| + | [[File:Micropython5.png|thumb|[[1. Panel scrolling text]] ]] | ||
| + | [[File:Micropython2.png|thumb|[[2. Panel display images]] ]] | ||
| + | [[File:Micropython2.png|thumb|[[3 Bottom IO port control]] ]] | ||
| + | [[File:Micropython2.png|thumb|[[4 Panel key detection]] ]] | ||
| + | [[File:Micropython2.png|thumb|[[5 Gets the board temperature]] ]] | ||
| + | [[File:Micropython2.png|thumb|[[6 Play MIDI music]] ]] | ||
| + | [[File:Micropython2.png|thumb|[[7 Photosensitive gesture]] ]] | ||
| + | [[File:Micropython2.png|thumb|[[8. MPU-9250 9-axis sensor]] ]] | ||
| + | [[File:Micropython2.png|thumb|[[9. Make a compass]] ]] | ||
| + | [[File:Micropython2.png|thumb|[[10 Free to define gestures]] ]] | ||
| + | [[File:Micropython2.png|thumb|[[11 Random number generator]] ]] | ||
| + | [[File:Micropython2.png|thumb|[[12 S2m Scratch2]] ]] | ||
| + | [[File:Micropython2.png|thumb|[[13 Codelab Scratch3]] ]] | ||
| + | |||
| + | |||
| + | [[File:Micropython6.png|thumb|[[1 The basic algorithm]] ]] | ||
| + | [[File:Micropython2.png|thumb|[[2 WiFI wireless connection]] ]] | ||
| + | [[File:Micropython2.png|thumb|[[3 WiFI wireless programming]] ]] | ||
| + | [[File:Micropython2.png|thumb|[[MQTT communication applications]]]] | ||
| + | |||
BPI:bit Scratch2 support | BPI:bit Scratch2 support | ||
| Line 53: | Line 87: | ||
==Install Scratch on Linux== | ==Install Scratch on Linux== | ||
| + | |||
| + | Prerequisite for software preparation ,Confirm python3 and pip3 installed, and then type the command shell box | ||
| + | |||
| + | pip3 install git+https://github.com/junhuanchen/s2m | ||
| + | |||
| + | confirm for the installation is complete. | ||
| + | |||
| + | [[File:Try_use.png]] | ||
| + | |||
| + | ==Start using software== | ||
| + | |||
| + | When the installation is complete, type s2m into the shell, which will automatically look up the serial port and open the service, so you should make sure the hardware is connected and start the service | ||
| + | |||
| + | Since everyone's installation of Scratch2 may be different, I suggest that you just take Scratch2 project back and open it directly. The downloaded [https://raw.githubusercontent.com/junhuanchen/s2m/master/s2m/scratch_files/projects/s2m-bpi-bit.sb2 s2m-bpi-bit.sb2] project is [https://github.com/junhuanchen/s2m/tree/master/s2m/scratch_files/projects here] (that is, in the s2m directory). | ||
| + | |||
| + | Then use Scratch2 loading the project file, when I saw the top bar at this time for the green dots can be s2m has normal work, and even on the hardware for data, you can use in Scratch2 bpibit to learn programming, if you have other want, can also be easily added, only need to open it with zip right project file, edit project. The contents of the json can add more building blocks, the corresponding function requires the corresponding modify s2m and s2mb source code. | ||
Latest revision as of 02:40, 21 February 2019
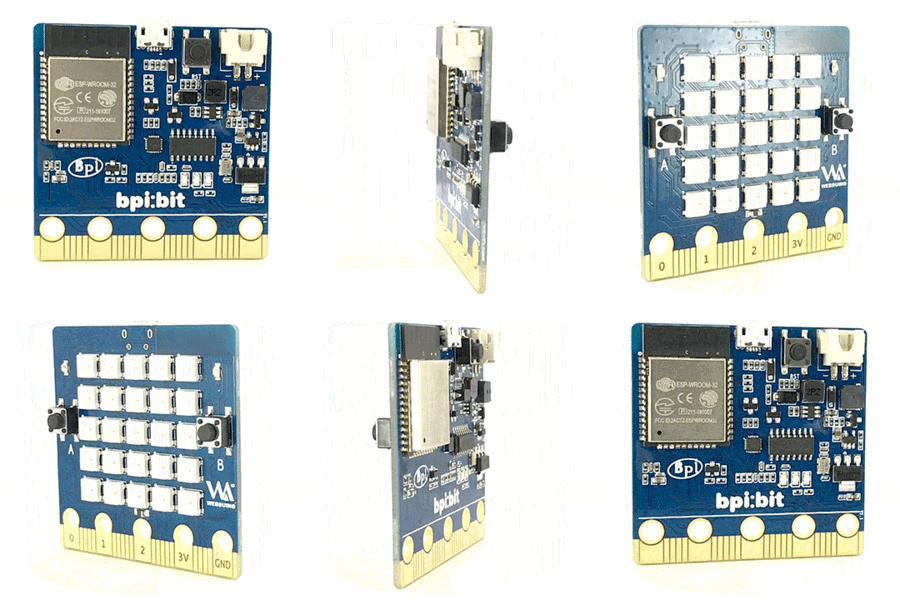
BPI:bit Scratch2 support
Contents
about Scratch2
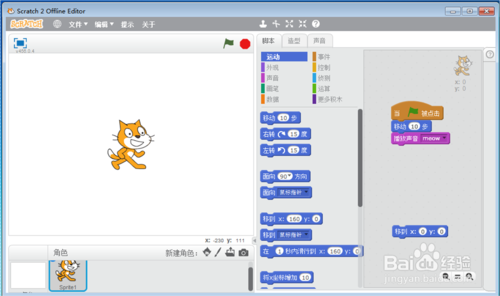
In order to help you understand computer language more quickly and let children make their own works, experts from MIT's multimedia lab developed a computer language for children --Scratch. In Scratch, there is no need to memorize complex syntax and statements. Scratch is similar to building blocks, and programs can be written by dragging and dropping. Therefore, Scratch looks more visual, intuitive and easy to operate. Students can easily make their own works!
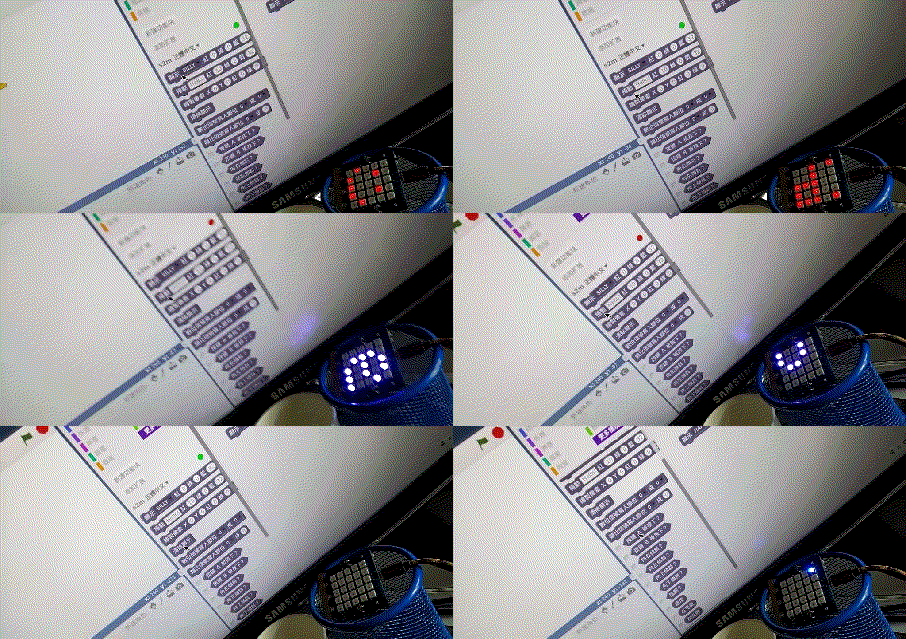
BPI:bit for Scratch2
Here's how Scratch2 works on Linux ARM hardware running on Bananapi M64,and development for BPI:bit
Hardware prerequisite
Learn how to burn image first, take a look, and then burn this firmware: s2mb_firmware.bin.
Note: that we can change the name to firmware.bin, otherwise the hardware will not be recognized.
There is no need to unplug the hardware after the burn. The hardware is now ready to complete.
Install Scratch2
Install Scratch2 on Windows system
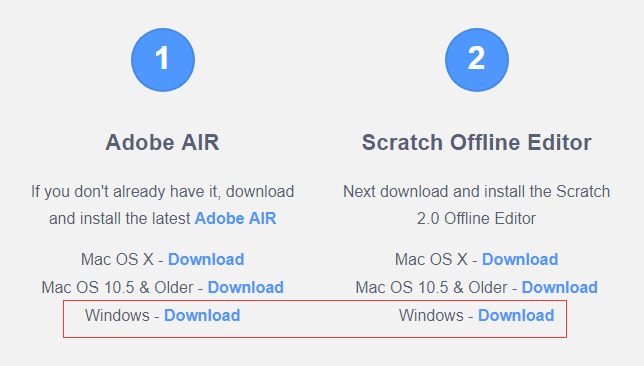
To access the Scratch 2.0 editor, install Adobe AIR first and then Scratch Offline editor.
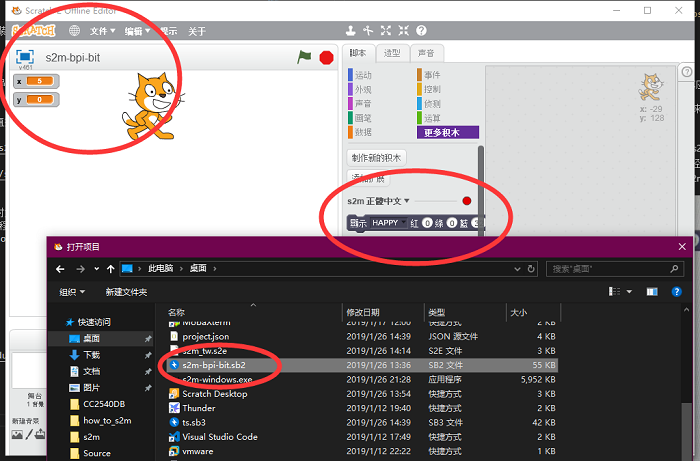
then open the s2m-bpi-bit.sb2 file with Scratch2
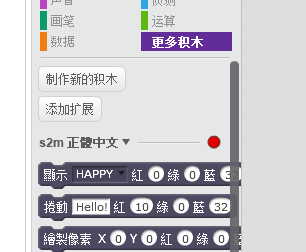
Now you can see more blocks:
The red dot indicates that the device is not connected. At this point, it is necessary to download the s2m-windows.exe software of the s2mb release page.
At this point to determine the firmware has been burning provide s2mb_firmware. Bin firmware, specific burning tutorial : Learn how to burn image firs
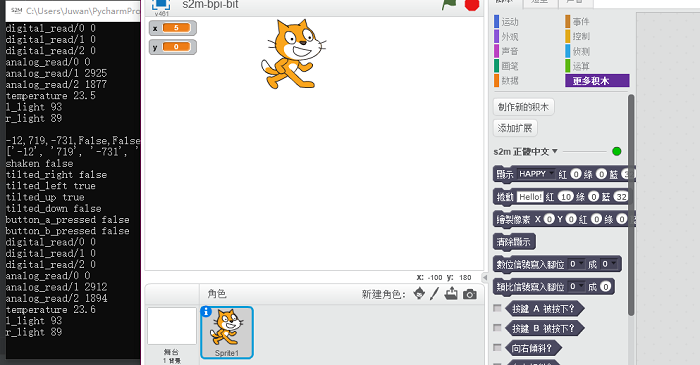
Make sure it works:
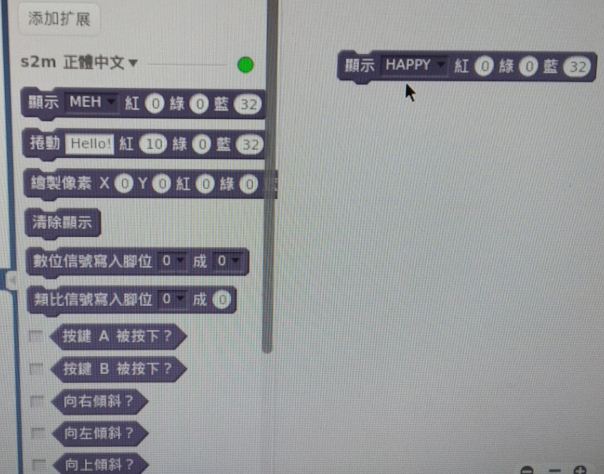
Now open s2m-windows.exe and you will see that the green light has been turned on. Start using it.
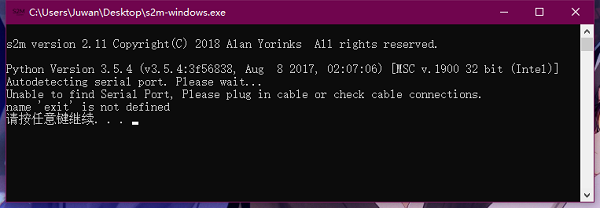
If you don't insert the hardware, it will prompt you.
Install Scratch on Linux
Prerequisite for software preparation ,Confirm python3 and pip3 installed, and then type the command shell box
pip3 install git+https://github.com/junhuanchen/s2m
confirm for the installation is complete.
Start using software
When the installation is complete, type s2m into the shell, which will automatically look up the serial port and open the service, so you should make sure the hardware is connected and start the service
Since everyone's installation of Scratch2 may be different, I suggest that you just take Scratch2 project back and open it directly. The downloaded s2m-bpi-bit.sb2 project is here (that is, in the s2m directory).
Then use Scratch2 loading the project file, when I saw the top bar at this time for the green dots can be s2m has normal work, and even on the hardware for data, you can use in Scratch2 bpibit to learn programming, if you have other want, can also be easily added, only need to open it with zip right project file, edit project. The contents of the json can add more building blocks, the corresponding function requires the corresponding modify s2m and s2mb source code.
