Difference between revisions of "9. Make a compass"
| (One intermediate revision by the same user not shown) | |||
| Line 1: | Line 1: | ||
| − | + | [[File:Webduino_gif.gif|thumb|Overview: [[BPI-Bit]]]] | |
[[File:Micropython3.png|thumb|[[1 Get the development suite]] ]] | [[File:Micropython3.png|thumb|[[1 Get the development suite]] ]] | ||
[[File:Micropython2.png|thumb|[[2 Wired connection board]] ]] | [[File:Micropython2.png|thumb|[[2 Wired connection board]] ]] | ||
| Line 11: | Line 11: | ||
[[File:Micropython2.png|thumb|[[3 Mpfshell details]] ]] | [[File:Micropython2.png|thumb|[[3 Mpfshell details]] ]] | ||
[[File:Micropython2.png|thumb|[[4 Pycharm IDE programming]] ]] | [[File:Micropython2.png|thumb|[[4 Pycharm IDE programming]] ]] | ||
| − | + | ||
| − | |||
[[File:Micropython5.png|thumb|[[1. Panel scrolling text]] ]] | [[File:Micropython5.png|thumb|[[1. Panel scrolling text]] ]] | ||
| Line 27: | Line 26: | ||
[[File:Micropython2.png|thumb|[[12 S2m Scratch2]] ]] | [[File:Micropython2.png|thumb|[[12 S2m Scratch2]] ]] | ||
[[File:Micropython2.png|thumb|[[13 Codelab Scratch3]] ]] | [[File:Micropython2.png|thumb|[[13 Codelab Scratch3]] ]] | ||
| + | |||
| + | [[File:Micropython6.png|thumb|[[1 The basic algorithm]] ]] | ||
| + | [[File:Micropython2.png|thumb|[[2 WiFI wireless connection]] ]] | ||
| + | [[File:Micropython2.png|thumb|[[3 WiFI wireless programming]] ]] | ||
| + | [[File:Micropython2.png|thumb|[[MQTT communication applications]]]] | ||
=compass= | =compass= | ||
Latest revision as of 02:39, 21 February 2019

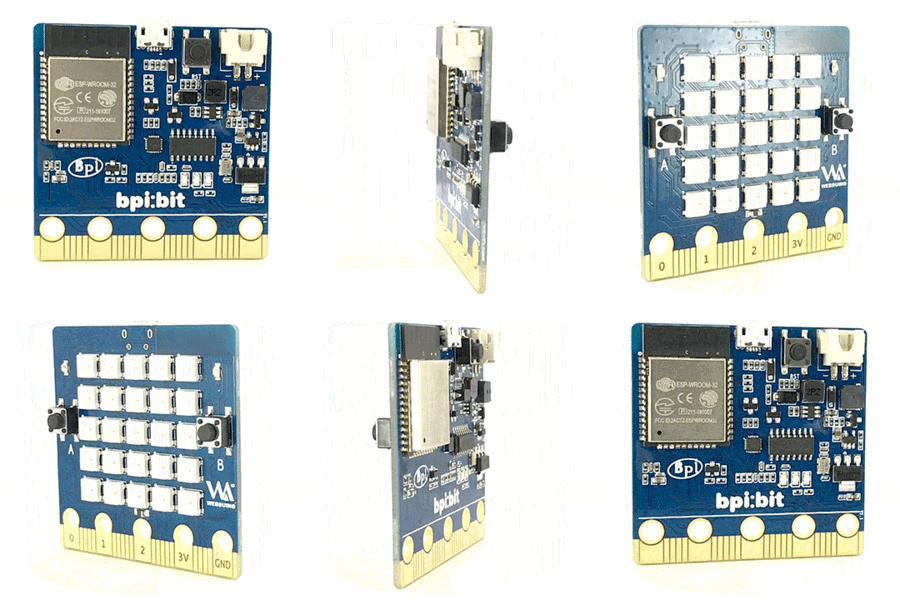
Overview: BPI-Bit
compass
This module gives you access to the built-in electronic compass (mpu). The compass should be calibrated before use, otherwise the reading may be wrong.
note:The alignment compass causes the program to pause until the alignment is complete. Calibration consists of a small game, by rotating the board in the air to complete the circle calibration.
Function of compass
- compass.calibrate()
- Perform this function to start the calibration process, you will receive a has a guiding significance to the information, then we need to rotate the board and in the air to draw a handstand '8' or circle, (this movement can refer to your mobile phone, mobile phone function of compass will have a calibration steps before use), the calibration process will take about 1 minute of time, you can't perform other procedures during calibration
- Notice message
- compass.is_calibrated ()
- Returns True if compass calibration is successful, or False otherwise
- compass.get_x ()
- Returns a reading of the strength of the magnetic field on the X-axis, which is a positive or negative integer, depending on the direction of the magnetic field.
- compass.get_y ()
- Returns a reading of the magnetic field intensity on the Y-axis, which is a positive or negative integer, depending on the direction of the magnetic field.
- compass.get_z ()
- Returns a reading of the z-axis magnetic field intensity, which is a positive or negative integer, depending on the direction of the magnetic field
- compass.heading()
- The compass heading calculated from the above readings is an integer between 0 and 360, representing a clockwise Angle of 0 at 12 o 'clock
- compass.get_field_strength()
- Returns the size of the magnetic field around the device, which is an integer.
sample code
"""
  compass.py
   Creates a compass.
   The user will need to calibrate the compass first. The compass uses the
   built-in clock images to display the position of the needle.
"""
from microbit import *
# Start calibrating
compass.calibrate()
# Try to keep the needle pointed in (roughly) the correct direction
while True:
   sleep(100)
   needle = ((15 - compass.heading()) // 30) % 12
   display.show(Image.ALL_CLOCKS[needle])
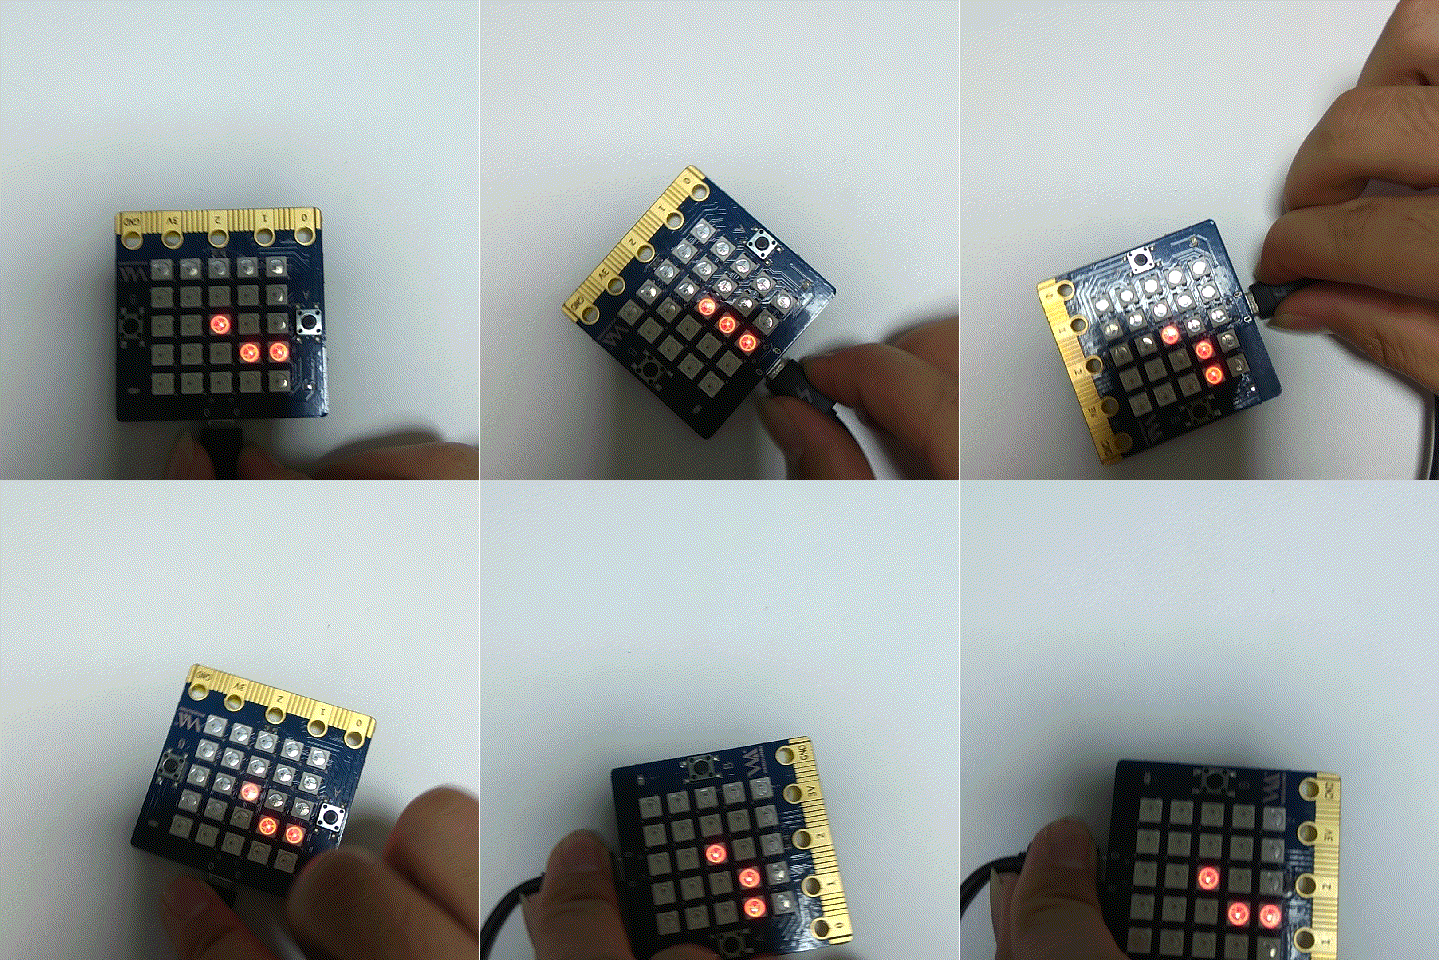
In this sample code the first step is to calibrate the electronic compass (mpu). After the calibration, we can see that we have a compass on the led panel. No matter how we turn the board, it always points to the south. Right

