Difference between revisions of "8. MPU-9250 9-axis sensor"
(→The advanced use of) |
|||
| (7 intermediate revisions by the same user not shown) | |||
| Line 1: | Line 1: | ||
| + | [[File:Webduino_gif.gif|thumb|Overview: [[BPI-Bit]]]] | ||
| + | [[File:Micropython3.png|thumb|[[1 Get the development suite]] ]] | ||
| + | [[File:Micropython2.png|thumb|[[2 Wired connection board]] ]] | ||
| + | [[File:Micropython2.png|thumb|[[3 Try burning the board]] ]] | ||
| + | [[File:Micropython2.png|thumb|[[4 Hello, World!]] ]] | ||
| + | [[File:Micropython2.png|thumb|[[5 Light up all kinds of LED]] ]] | ||
| + | |||
| + | |||
| + | [[File:Micropython4.png|thumb|[[1 Auto series one key burn]] ]] | ||
| + | [[File:Micropython2.png|thumb|[[2 ESPBlocks Beginner's only]] ]] | ||
| + | [[File:Micropython2.png|thumb|[[3 Mpfshell details]] ]] | ||
| + | [[File:Micropython2.png|thumb|[[4 Pycharm IDE programming]] ]] | ||
| + | |||
| + | |||
| + | [[File:Micropython5.png|thumb|[[1. Panel scrolling text]] ]] | ||
| + | [[File:Micropython2.png|thumb|[[2. Panel display images]] ]] | ||
| + | [[File:Micropython2.png|thumb|[[3 Bottom IO port control]] ]] | ||
| + | [[File:Micropython2.png|thumb|[[4 Panel key detection]] ]] | ||
| + | [[File:Micropython2.png|thumb|[[5 Gets the board temperature]] ]] | ||
| + | [[File:Micropython2.png|thumb|[[6 Play MIDI music]] ]] | ||
| + | [[File:Micropython2.png|thumb|[[7 Photosensitive gesture]] ]] | ||
| + | [[File:Micropython2.png|thumb|[[8. MPU-9250 9-axis sensor]] ]] | ||
| + | [[File:Micropython2.png|thumb|[[9. Make a compass]] ]] | ||
| + | [[File:Micropython2.png|thumb|[[10 Free to define gestures]] ]] | ||
| + | [[File:Micropython2.png|thumb|[[11 Random number generator]] ]] | ||
| + | [[File:Micropython2.png|thumb|[[12 S2m Scratch2]] ]] | ||
| + | [[File:Micropython2.png|thumb|[[13 Codelab Scratch3]] ]] | ||
| + | |||
| + | [[File:Micropython6.png|thumb|[[1 The basic algorithm]] ]] | ||
| + | [[File:Micropython2.png|thumb|[[2 WiFI wireless connection]] ]] | ||
| + | [[File:Micropython2.png|thumb|[[3 WiFI wireless programming]] ]] | ||
| + | [[File:Micropython2.png|thumb|[[MQTT communication applications]]]] | ||
| + | |||
=MPU9250 9-axis sensor= | =MPU9250 9-axis sensor= | ||
| Line 42: | Line 75: | ||
==Funny games== | ==Funny games== | ||
| + | |||
| + | Based on the previous application of the basis, we can make a fun game, the code in the bottom link, the bottom also has the corresponding measured animation, may need to load for a while, some huge. | ||
| + | |||
| + | [https://github.com/BPI-STEAM/BPI-BIT-MicroPython/blob/master/11.app/balance_ball.py Balancing ball code] (for BPI:bit hardware version 1.4) | ||
| + | |||
| + | [[File:Balance_ball.gif]] | ||
| + | |||
| + | |||
| + | With this MPU-9250 9-axis sensor, we can also do a lot of basic attitude detection functions, it is a very extended functional module | ||
Latest revision as of 02:39, 21 February 2019

Contents
MPU9250 9-axis sensor
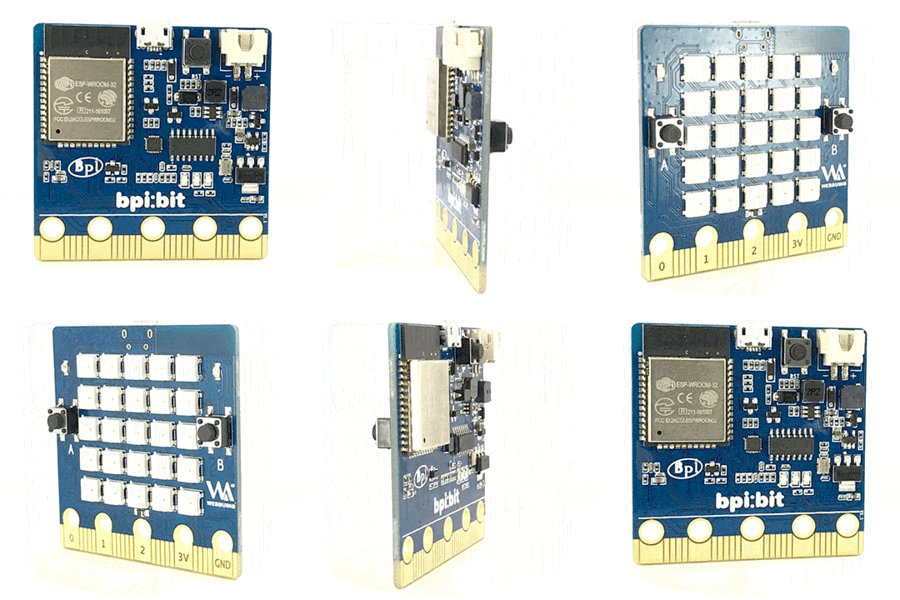
BPI:Bit use a 9-axis sensor, MPU9250, is placed on the BPI:bit board. and MPU9250 uses I2C 0x69 address.
The 9-axis is the combination of 3 separate triple axis sensors. For more detailed information of this chip, click here MPU 9250 datasheet to view the datasheet.\
BPI-BIT MPU9250 Library and how to : https://github.com/BPI-STEAM/MPU9250
Board attitude detection
This module allows you to get the current nine axis attitude values of the board, which are acceleration, gravity, and magnetic induction (X, Y, Z).
The most basic function is to obtain their current X, Y and Z values to judge the motion state of the board at this time. For example, the z-value of acceleration increases by a small amount, indicating that the board is moving in the z-axis direction (with acceleration), so we can judge that the board is moving in the direction above the z-axis.
Based on using
After a simple introduction, we can design a simple judgment, such as getting the balance of the board, accelerometer acceleration module, for example, to get its value of the X axis, you can get a basic values, if the value is greater than 20 shows it to the right, if less than 20, explain it to the left, if between the two, is that it is balanced, so has the following code, L said the left, and show that R said the board to the right, give it a try!
from microbit import *
while True:
   reading = accelerometer.get_x()
   if reading > 20:
       display.show("R")
   elif reading < -20:
       display.show("L")
   else:
       display.show("-")
The advanced use of
Gesture detection, such as up and down, left and right, forward and backward, shake free landing, etc., the following code is, when the board is facing up, it displays a smiling face, while when facing down, it displays an angry expression.
from microbit import *
while True:
   gesture = accelerometer.current_gesture()
   if gesture == "face up":
       display.show(Image.HAPPY)
   else:
       display.show(Image.ANGRY)
Funny games
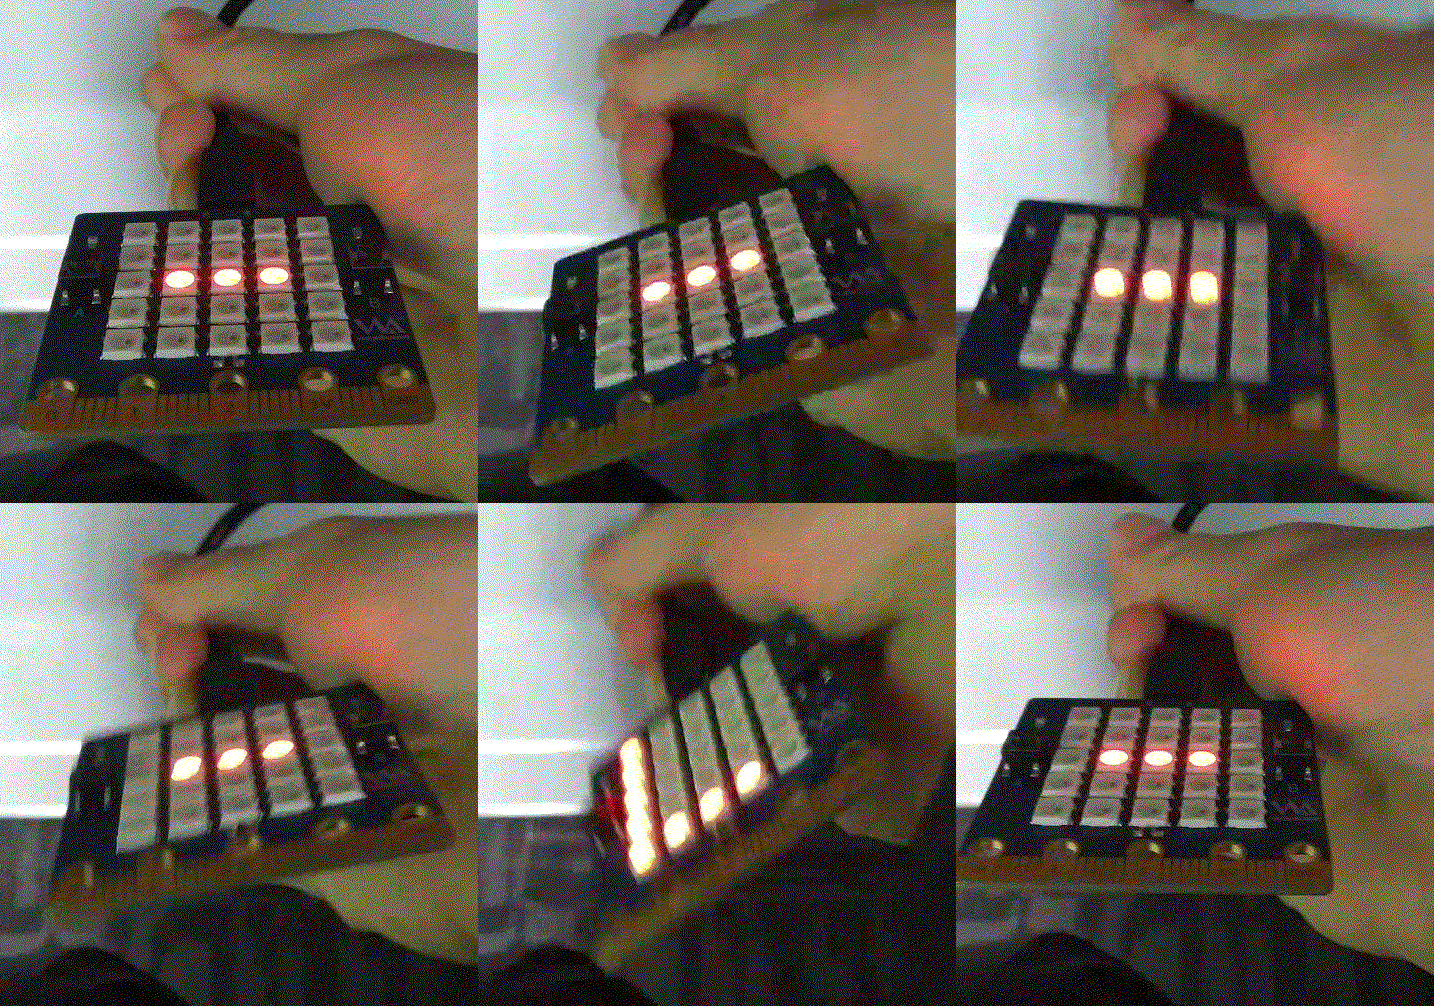
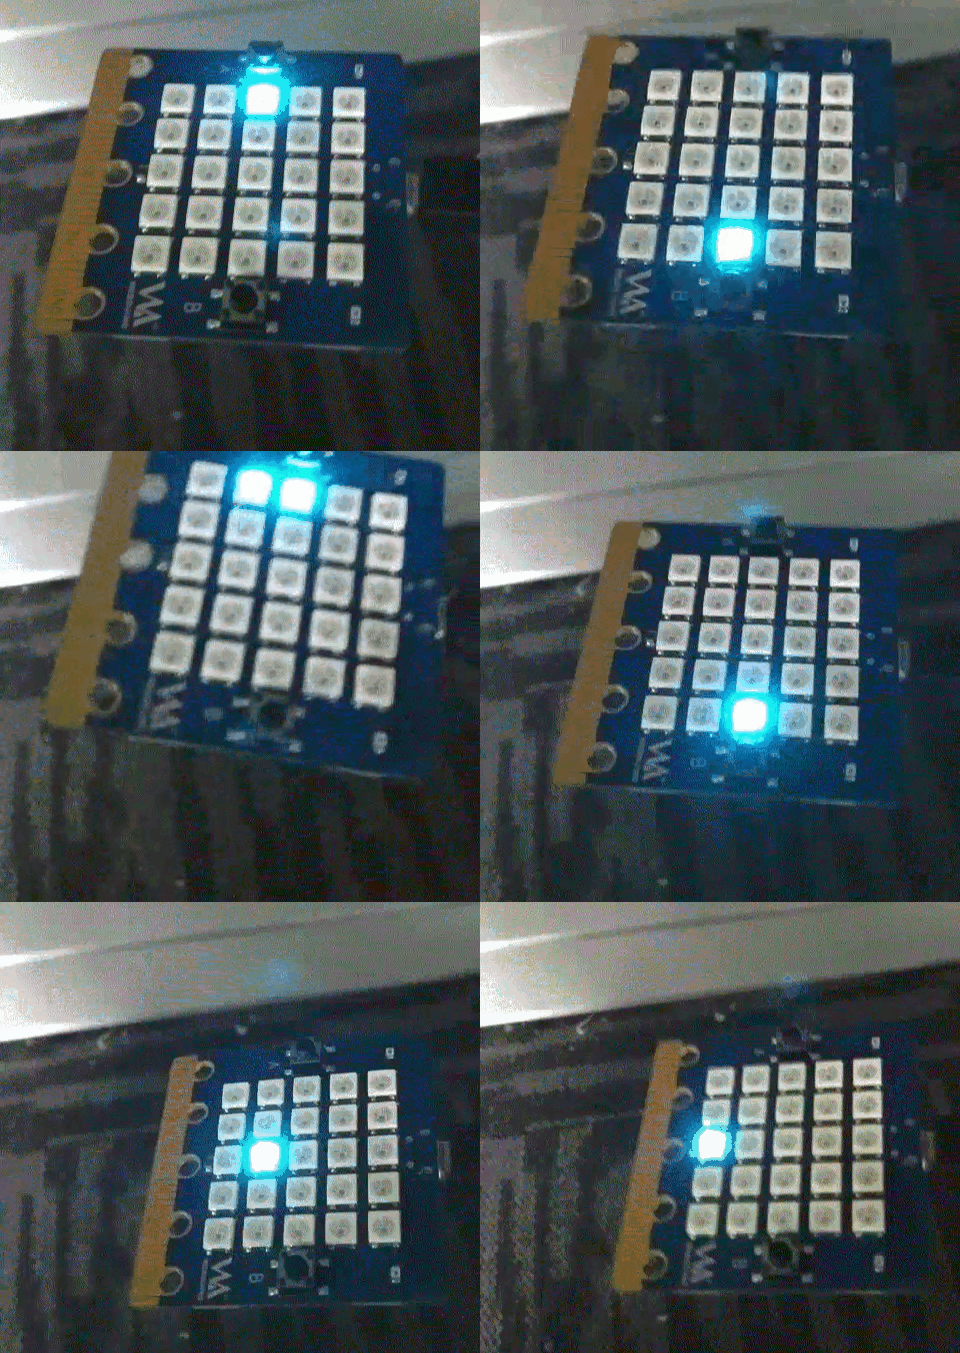
Based on the previous application of the basis, we can make a fun game, the code in the bottom link, the bottom also has the corresponding measured animation, may need to load for a while, some huge.
Balancing ball code (for BPI:bit hardware version 1.4)
With this MPU-9250 9-axis sensor, we can also do a lot of basic attitude detection functions, it is a very extended functional module

