Difference between revisions of "4 Panel key detection"
(→Panel key detection) |
|||
| (4 intermediate revisions by the same user not shown) | |||
| Line 1: | Line 1: | ||
| + | [[File:Webduino_gif.gif|thumb|Overview: [[BPI-Bit]]]] | ||
| + | [[File:Micropython3.png|thumb|[[1 Get the development suite]] ]] | ||
| + | [[File:Micropython2.png|thumb|[[2 Wired connection board]] ]] | ||
| + | [[File:Micropython2.png|thumb|[[3 Try burning the board]] ]] | ||
| + | [[File:Micropython2.png|thumb|[[4 Hello, World!]] ]] | ||
| + | [[File:Micropython2.png|thumb|[[5 Light up all kinds of LED]] ]] | ||
| + | |||
| + | |||
| + | [[File:Micropython4.png|thumb|[[1 Auto series one key burn]] ]] | ||
| + | [[File:Micropython2.png|thumb|[[2 ESPBlocks Beginner's only]] ]] | ||
| + | [[File:Micropython2.png|thumb|[[3 Mpfshell details]] ]] | ||
| + | [[File:Micropython2.png|thumb|[[4 Pycharm IDE programming]] ]] | ||
| + | |||
| + | |||
| + | [[File:Micropython5.png|thumb|[[1. Panel scrolling text]] ]] | ||
| + | [[File:Micropython2.png|thumb|[[2. Panel display images]] ]] | ||
| + | [[File:Micropython2.png|thumb|[[3 Bottom IO port control]] ]] | ||
| + | [[File:Micropython2.png|thumb|[[4 Panel key detection]] ]] | ||
| + | [[File:Micropython2.png|thumb|[[5 Gets the board temperature]] ]] | ||
| + | [[File:Micropython2.png|thumb|[[6 Play MIDI music]] ]] | ||
| + | [[File:Micropython2.png|thumb|[[7 Photosensitive gesture]] ]] | ||
| + | [[File:Micropython2.png|thumb|[[8. MPU-9250 9-axis sensor]] ]] | ||
| + | [[File:Micropython2.png|thumb|[[9. Make a compass]] ]] | ||
| + | [[File:Micropython2.png|thumb|[[10 Free to define gestures]] ]] | ||
| + | [[File:Micropython2.png|thumb|[[11 Random number generator]] ]] | ||
| + | [[File:Micropython2.png|thumb|[[12 S2m Scratch2]] ]] | ||
| + | [[File:Micropython2.png|thumb|[[13 Codelab Scratch3]] ]] | ||
| + | |||
| + | [[File:Micropython6.png|thumb|[[1 The basic algorithm]] ]] | ||
| + | [[File:Micropython2.png|thumb|[[2 WiFI wireless connection]] ]] | ||
| + | [[File:Micropython2.png|thumb|[[3 WiFI wireless programming]] ]] | ||
| + | [[File:Micropython2.png|thumb|[[MQTT communication applications]]]] | ||
| + | |||
=Panel key detection= | =Panel key detection= | ||
Well, at least we've now created some code to get the board to do something. So, let's deal with device input, like keystroke input. First, we need to know two concepts: Output represents the Output from the device to the periphery, and Input represents some information received in the process of processing the device | Well, at least we've now created some code to get the board to do something. So, let's deal with device input, like keystroke input. First, we need to know two concepts: Output represents the Output from the device to the periphery, and Input represents some information received in the process of processing the device | ||
Latest revision as of 02:38, 21 February 2019

Panel key detection
Well, at least we've now created some code to get the board to do something. So, let's deal with device input, like keystroke input. First, we need to know two concepts: Output represents the Output from the device to the periphery, and Input represents some information received in the process of processing the device
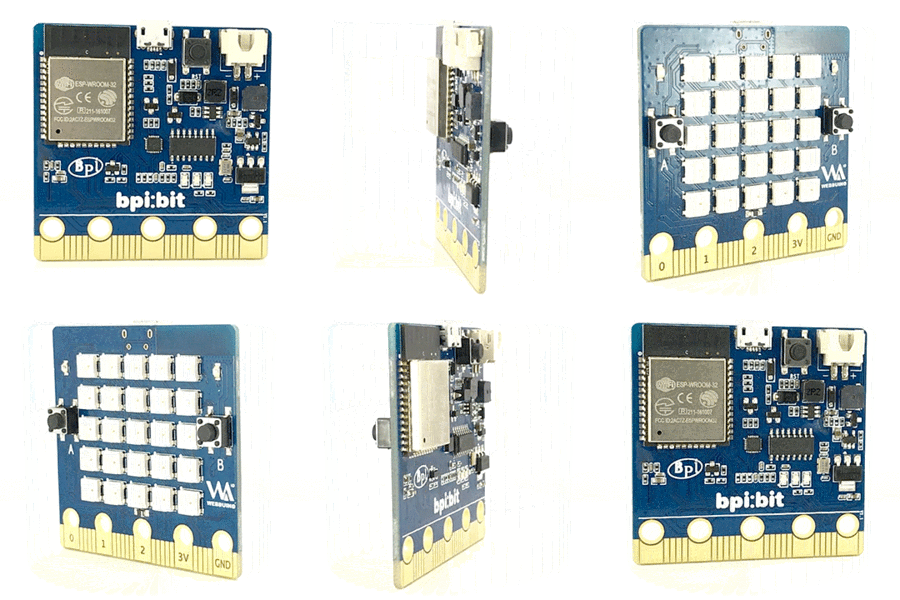
So the most obvious input on the board is two buttons, two A and B buttons on the left and right of the light board. If we want to know whether the button on the board has been pressed, or whether it has been pressed, or how many times it has been pressed, how can we do that?
It's not so hard, it's easier said than done.
from microbit import *
sleep(2000)
display.scroll(str(button_a.get_presses()))
This code will pause for two seconds before you start pressing the button, which will scroll to show how many times you have pressed A. It's that simple. While the code isn't very useful, it does provide some new ideas about how you can control your hardware
- 1,The sleep function allows the board to pause for a few milliseconds, the number of milliseconds in the block. If you want to pause at some point in your program, write the sleep function as shown above.
- 2,The button_a object allows you to get the number of times pressed in a time via the get_presses method
And then capturing the once get_presses values, pass it to the display. The sroll, this method can only accept character, so we need by STR function to convert the integer to a string in python principle so we made a hypothesis, for a deeper understanding if you within 10 seconds press the 10 times, how to perform the third line of code above? Because python executes code from the innermost layer. So:
display.scroll(str(button_a.get_presses()))
Of course, this will display the number of times you pressed the button (a period of time, can be specified).
display.scroll(str(10))
Now that python knows how many times to press, the next step is to turn the string inside into a string, and note that this must be the innermost priority, that is, executing STR ("10") first.
display.scroll(str("10"))
handle event
If you want the board to respond to a button press event, you need to use if to determine if the button is pressed, and this method is recommended in an infinite loop. Such as:
while True:
   # Do stuff
So we can build a very simple code
from microbit import *
while True:
   if button_a.is_pressed():
       display.show(Image.HAPPY)
       display.clear()
At this point, you can press the button A to display the Image we learned before, which is called putting what you have learned into practice