Difference between revisions of "1 Get the development suite"
| (41 intermediate revisions by the same user not shown) | |||
| Line 1: | Line 1: | ||
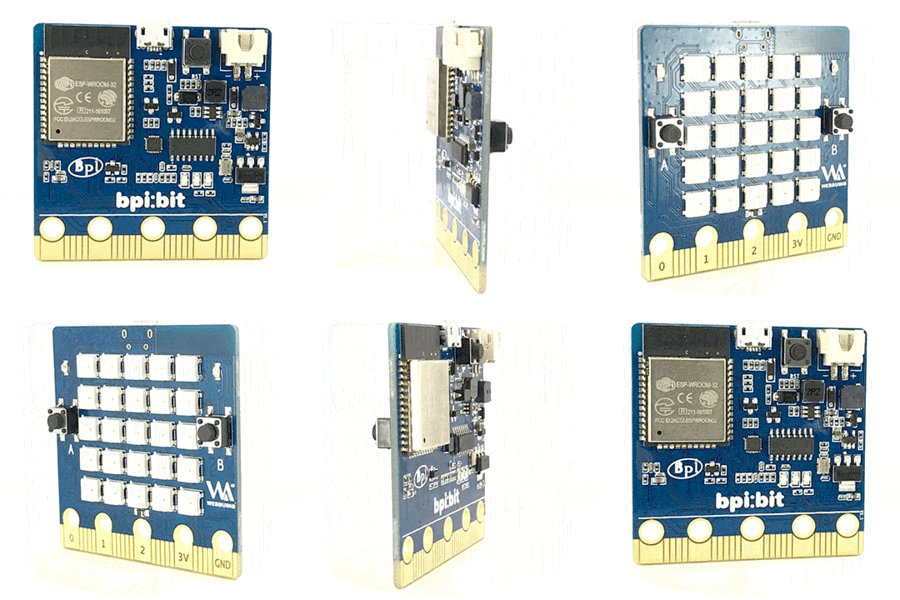
| − | Get the development suite | + | [[File:Webduino_gif.gif|thumb|Overview: [[BPI-Bit]]]] |
| + | [[File:Micropython3.png|thumb|[[1 Get the development suite]] ]] | ||
| + | [[File:Micropython2.png|thumb|[[2 Wired connection board]] ]] | ||
| + | [[File:Micropython2.png|thumb|[[3 Try burning the board]] ]] | ||
| + | [[File:Micropython2.png|thumb|[[4 Hello, World!]] ]] | ||
| + | [[File:Micropython2.png|thumb|[[5 Light up all kinds of LED]] ]] | ||
| + | |||
| + | |||
| + | [[File:Micropython4.png|thumb|[[1 Auto series one key burn]] ]] | ||
| + | [[File:Micropython2.png|thumb|[[2 ESPBlocks Beginner's only]] ]] | ||
| + | [[File:Micropython2.png|thumb|[[3 Mpfshell details]] ]] | ||
| + | [[File:Micropython2.png|thumb|[[4 Pycharm IDE programming]] ]] | ||
| + | |||
| + | [[File:Micropython5.png|thumb|[[1. Panel scrolling text]] ]] | ||
| + | [[File:Micropython2.png|thumb|[[2. Panel display images]] ]] | ||
| + | [[File:Micropython2.png|thumb|[[3 Bottom IO port control]] ]] | ||
| + | [[File:Micropython2.png|thumb|[[4 Panel key detection]] ]] | ||
| + | [[File:Micropython2.png|thumb|[[5 Gets the board temperature]] ]] | ||
| + | [[File:Micropython2.png|thumb|[[6 Play MIDI music]] ]] | ||
| + | [[File:Micropython2.png|thumb|[[7 Photosensitive gesture]] ]] | ||
| + | [[File:Micropython2.png|thumb|[[8. MPU-9250 9-axis sensor]] ]] | ||
| + | [[File:Micropython2.png|thumb|[[9. Make a compass]] ]] | ||
| + | [[File:Micropython2.png|thumb|[[10 Free to define gestures]] ]] | ||
| + | [[File:Micropython2.png|thumb|[[11 Random number generator]] ]] | ||
| + | [[File:Micropython2.png|thumb|[[12 S2m Scratch2]] ]] | ||
| + | [[File:Micropython2.png|thumb|[[13 Codelab Scratch3]] ]] | ||
| + | |||
| + | [[File:Micropython6.png|thumb|[[1 The basic algorithm]] ]] | ||
| + | [[File:Micropython2.png|thumb|[[2 WiFI wireless connection]] ]] | ||
| + | [[File:Micropython2.png|thumb|[[3 WiFI wireless programming]] ]] | ||
| + | [[File:Micropython2.png|thumb|[[MQTT communication applications]]]] | ||
| + | |||
| + | '''1,Get the development suite''' | ||
1. Know the project | 1. Know the project | ||
| Line 17: | Line 49: | ||
4.Wiki: view the documentation for the project,github is chinese version ,here is english | 4.Wiki: view the documentation for the project,github is chinese version ,here is english | ||
[[File:Wiki.png]] | [[File:Wiki.png]] | ||
| − | 5. | + | 5. commits: to describe changes or commits that are current on a particular project. |
| − | + | [[File:Commits.png]] | |
| − | 6. | + | 6. release: is where you store the tool suite, source code, and so on that the user can use directly. |
| − | + | [[File:Release.png]] | |
| + | |||
| + | '''2.Download the project''' | ||
| − | + | *You can see the Clone or Download button below, which bundles the sample code for the current project directly for Download (without the development suite). | |
| + | [[File:Into.png]] | ||
| − | + | *Get development kit : https://github.com/BPI-STEAM/BPI-BIT-MicroPython/releases | |
| − | + | [[File:List.png]] | |
| − | |||
| − | |||
| − | |||
| − | |||
| − | + | *click on the blue font to download the file. In this project, the development kit tools are downloaded on demand, so when you need a tool, the document will mention the required materials at the beginning. | |
| + | *you can go back to the beginning to relearn or move on to the next chapter [[2 Wired connection board]] | ||
Latest revision as of 02:36, 21 February 2019
1,Get the development suite
1. Know the project
- Github is a public and free version management repository, and most of them are open source projects. You can get a lot of materials or code you need here, etc., while our open source source code and other things are stored in the git repository of Github.
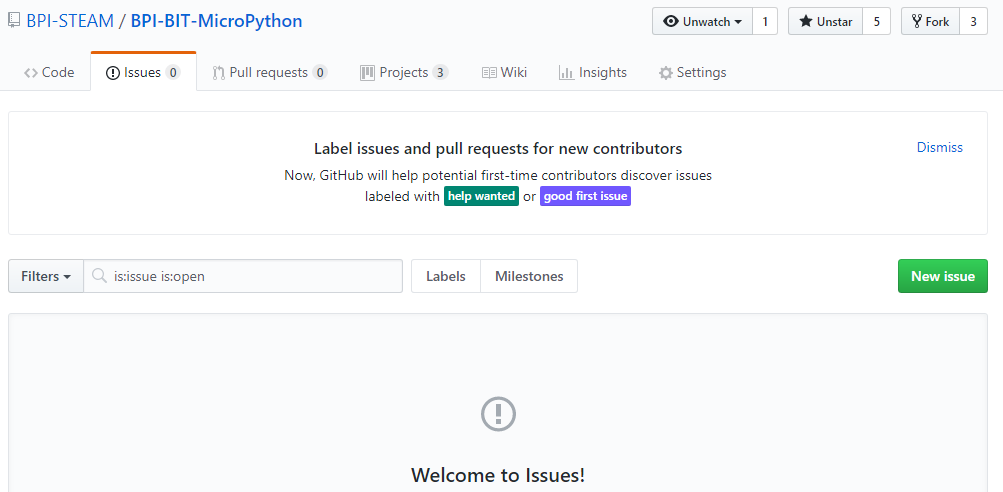
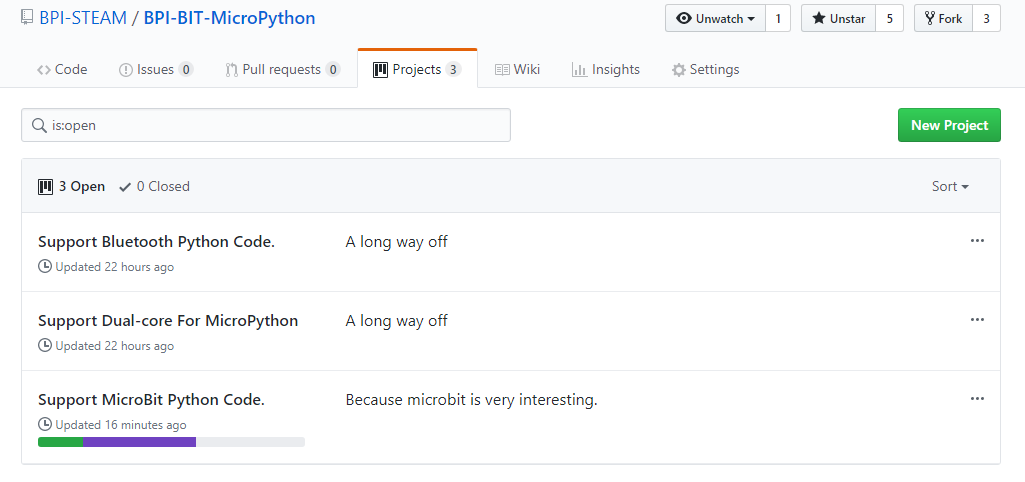
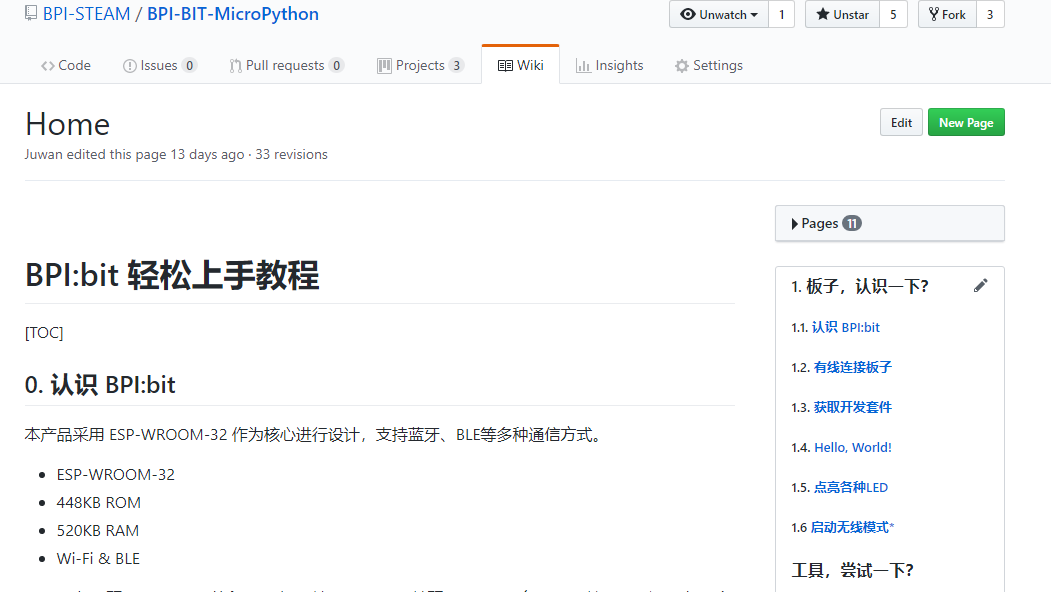
The circled button option, for the user, provides the following functionality (although the document content may be updated with The Times, the general content shown in the image will not change).
1. Code: is the open source Code that the project stores, in this case the sample Code that can be used directly for the board.
2.Issues:can be posted here if there is any doubt, whether it is error report or need help, etc.
3. Project: refers to the current development of the Project. You can see the development of the whole Project here.
4.Wiki: view the documentation for the project,github is chinese version ,here is english
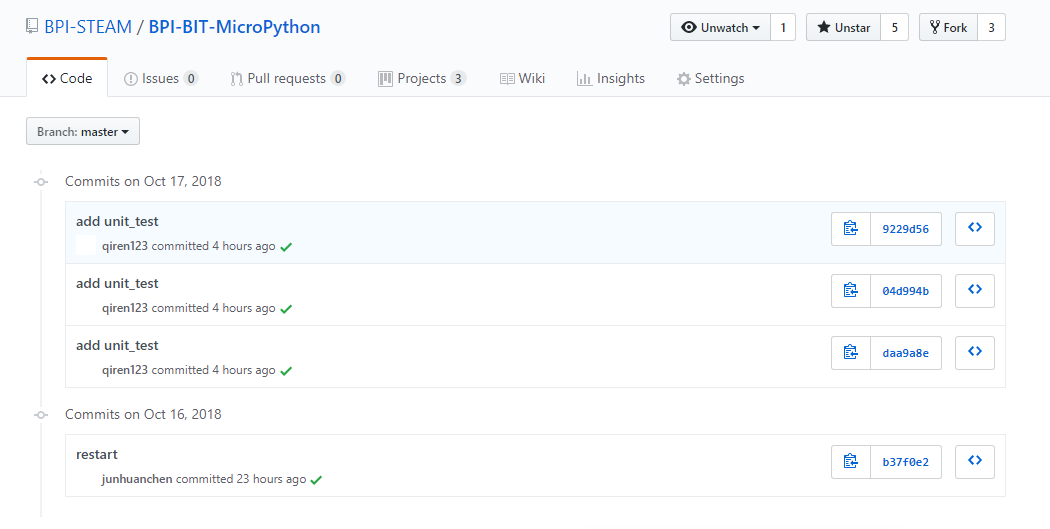
5. commits: to describe changes or commits that are current on a particular project.
6. release: is where you store the tool suite, source code, and so on that the user can use directly.
2.Download the project
- You can see the Clone or Download button below, which bundles the sample code for the current project directly for Download (without the development suite).
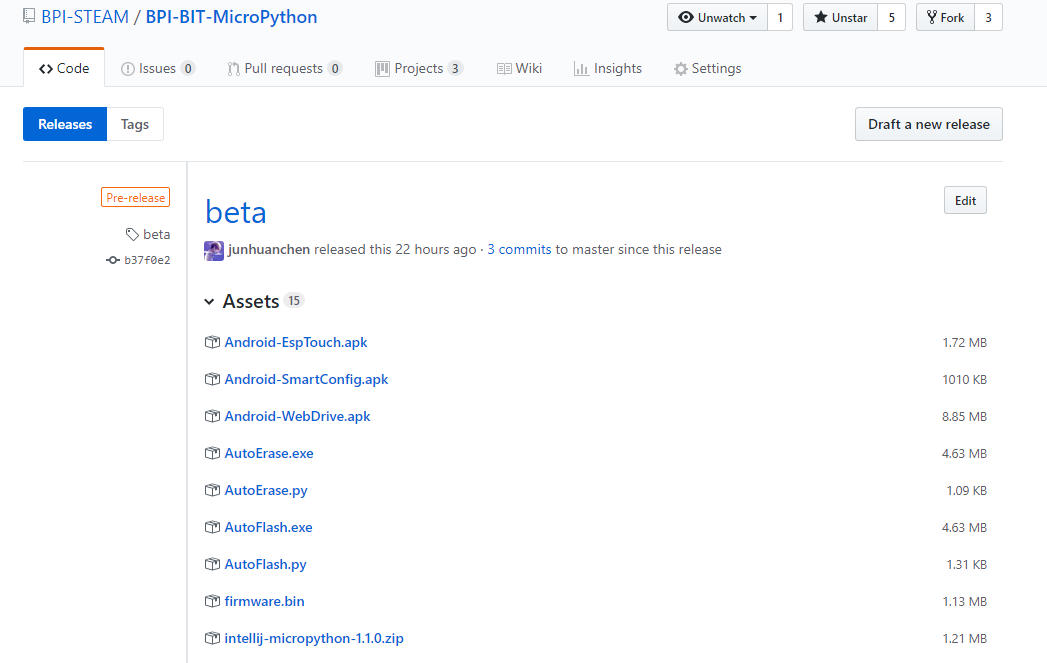
- Get development kit : https://github.com/BPI-STEAM/BPI-BIT-MicroPython/releases
- click on the blue font to download the file. In this project, the development kit tools are downloaded on demand, so when you need a tool, the document will mention the required materials at the beginning.
- you can go back to the beginning to relearn or move on to the next chapter 2 Wired connection board


