Difference between revisions of "BPI-EAI80 Compiling Steps"
| Line 19: | Line 19: | ||
[[File:Comple_2.jpg]] | [[File:Comple_2.jpg]] | ||
| + | |||
| + | [[File:Comple_3.jpg]] | ||
Step 3: Execute compiling | Step 3: Execute compiling | ||
| − | 1.Turn on a terminal, path: github/BPI-EAI80-bsp/ugelis/ugelis_example/example/driver_example/lcd/build) | + | ::1.Turn on a terminal, path: github/BPI-EAI80-bsp/ugelis/ugelis_example/example/driver_example/lcd/build) |
| − | 2.Command: make (execute comiling) | + | ::2.Command: make (execute comiling) |
Step 4: Burning ugelis.bin (after compiling) to EAI80 flash: | Step 4: Burning ugelis.bin (after compiling) to EAI80 flash: | ||
Revision as of 03:07, 13 October 2020
BPI-EAI80 Compiling Steps
Compiling LCD source code
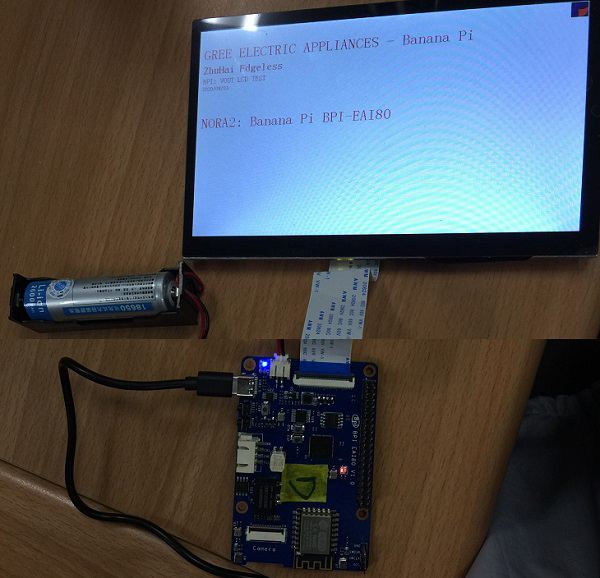
Step 1: Hardware connection
- 1. Connect a 7” LCD cable with a EAI80
- 2. Connect a battery cable with a EAI80
- 3. Connect a type C cable with a NB
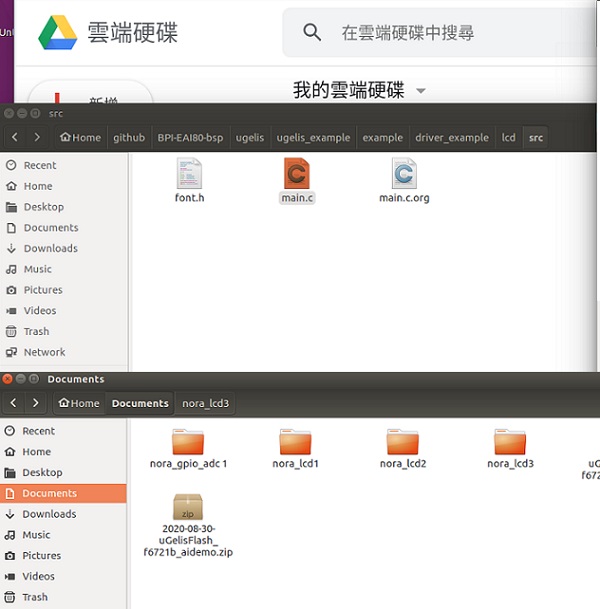
Step 2: Modify LCD source code
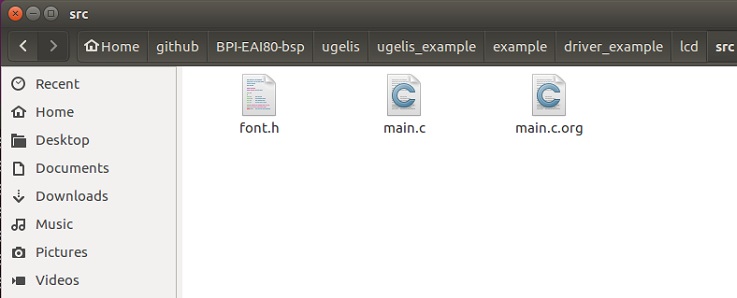
- 1.Go to src under lcd folder
- 2.Copy main.c file to another folder before modifying its context
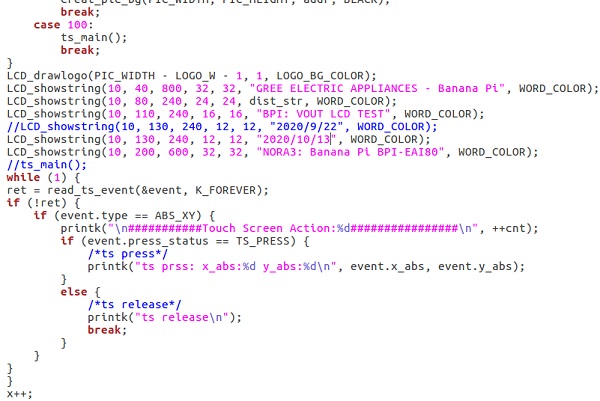
- 3.Modifying lcd source code – main.c (under lcd src folder) then saving
Step 3: Execute compiling
- 1.Turn on a terminal, path: github/BPI-EAI80-bsp/ugelis/ugelis_example/example/driver_example/lcd/build)
- 2.Command: make (execute comiling)
Step 4: Burning ugelis.bin (after compiling) to EAI80 flash: 1.Turn on 2nd terminal, path: github/BPI-EAI80-bsp/ugelis_example/example/driver_example/lcd/build/ugeliss 2. Turn on 3rd terminal, path: github/BPI-EAI80-bsp/ugelis/tools/gree_tool$
3. Copy ugelis.bin file under lcd/build/ugelis to gree_tools folder
4. Command: gree_tool$./gree_tool.ph (burning ugelis.bin file to EAI80 flash and lcd software burning done)


