Difference between revisions of "2. Panel display images"
(→Change the color of the image) |
(→Change the color of the image) |
||
| Line 189: | Line 189: | ||
[[File:Blueaa.gif]] | [[File:Blueaa.gif]] | ||
| + | |||
| + | As discussed in the previous section, we will import the display module if we want to use the built-in color, we used the built-in color Blue here, so we will import the display module from display import * at the beginning. | ||
| + | |||
| + | Of course, what if the built-in colors don't work? Also in reference to our previous chapter, we can customize a color. | ||
| + | |||
| + | from microbit import * | ||
| + | mycolor = [3, 1, 1] | ||
| + | display.show(Image.ALL_CLOCKS, color=mycolor, loop=True, delay=500) | ||
Revision as of 00:56, 18 February 2019
Contents
Panel display image
Now that you know there's an LED matrix on the panel, you can use it to make a big story, because Python already gives you a lot of control over the display, so you can use it to create all sorts of interesting effects, and I'm sure this will be a good vehicle for artistic development.
- Then before we get started on the project, you can see that Python already has a lot of built-in images, and if you want to display a smiley face, all you need to do is run the following code.
from microbit import *
display.show(Image.HAPPY)
Through the previous chapter, I think you should know the purpose of the first line, then the second line is refers to by the display module to display the built-in Image picture, we show the pattern of the smiling face is just part of the Image, and its name is Happy, and we will show through and placed it on the brackets, to make it, so as the display. just use display.show(Image.HAPPY), began to give it a try.
The list of built-in images is as follows
Image.HEART
Image.HEART_SMALL
Image.HAPPY
Image.SMILE
Image.SAD
Image.CONFUSED
Image.ANGRY
Image.ASLEEP
Image.SURPRISED
Image.SILLY
Image.FABULOUS
Image.MEH
Image.YES
Image.NO
Image.CLOCK12,
Image.CLOCK11,
Image.CLOCK10,
Image.CLOCK9,
Image.CLOCK8,
Image.CLOCK7,
Image.CLOCK6,
Image.CLOCK5,
Image.CLOCK4,
Image.CLOCK3,
Image.CLOCK2,
Image.CLOCK1
Image.ARROW_N,
Image.ARROW_NE,
Image.ARROW_E,
Image.ARROW_SE,
Image.ARROW_S,
Image.ARROW_SW,
Image.ARROW_W,
Image.ARROW_NW
Image.TRIANGLE
Image.TRIANGLE_LEFT
Image.CHESSBOARD
Image.DIAMOND
Image.DIAMOND_SMALL
Image.SQUARE
Image.SQUARE_SMALL
Image.RABBIT
Image.COW
Image.MUSIC_CROTCHET
Image.MUSIC_QUAVER
Image.MUSIC_QUAVERS
Image.PITCHFORK
Image.XMAS
Image.PACMAN
Image.TARGET
Image.TSHIRT
Image.ROLLERSKATE
Image.DUCK
Image.HOUSE
Image.TORTOISE
Image.BUTTERFLY
Image.STICKFIGURE
Image.GHOST
Image.SWORD
Image.GIRAFFE
Image.SKULL
Image.UMBRELLA
Image.SNAKE
You can see that the number is very large. When you see this, I think you can also try some other pictures. Have a good time, XD
Try DIY pictures
Of course, you don't stop there, so how do you go further? Like creating your own pictures.
Each LED can be set to a value on the physical display, similar to the high and low level. For example, if a pixel point is set to 0, its brightness will be 0. However, if it is set to 9, its brightness will be 9.So remember this, from zero to nine, the brightness increases in turn!Based on this, we can easily create a new image that we want.
from microbit import *
boat = Image("05050:"
            "05050:"
            "05050:"
            "99999:"
            "09990")
display.show(boat)
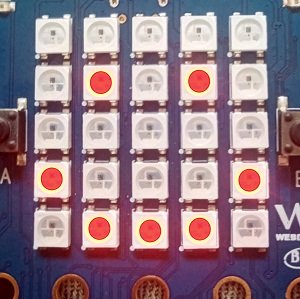
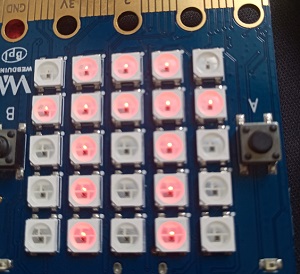
Run, you should be able to see a picture like this!!
So now that you know how to draw a graph, you should notice that each line ends with one: and at the same time the two sides are enclosed in double quotation marks, which are just numerical brightness, so creating an image is as simple as that.
But actually, you don't have to write multiple lines, if you can make sure that every single line is correct, you can write it like this
boat = Image("05050:05050:05050:99999:09990")
How to make a simple animation
Still images are fun, but more fun is getting them moving, which is exciting but easy to do in Python, just using a list of images ~!
- Suppose there are some shopping listings:[dense Eggs, Bacon, comedy],And then you need a way to represent these things in python XDS.
shopping = ["Eggs", "Bacon", "Tomatoes" ]
- This method is called list, which is just a list. I simply create a list called shopping, which contains 3 elements. Python knows it is a list because it has a pair of parentheses [], and the elements in the list are separated by commas. We need to know that they are both string objects because they are separated by .
- You can store anything in python using a list, and the following example will teach you how to create Numbers from lists.
- And then you need a way to represent these things in python
shopping = [2, 3, 5,11 ]
- Lists also hold many different types of variables:
mixed_up_list = ["hello!", 1.234, Image.HAPPY]
Notice that the last element isn't there, it's an Image object, so we can tell Python to store a list of images, but in the built-in method, there are two objects that have already been made. They are image.ALL_CLOCKS and image.ALL_ARROWS.
from microbit import *
display.show(Image.ALL_CLOCKS, loop=True, delay=100)
Like the single image, we use display.show to show on the device, however, we tell Python to use the image.all_clocks list, and then it will understand and show us all the elements of the list in order.Pass the following
code.Delay = 100.
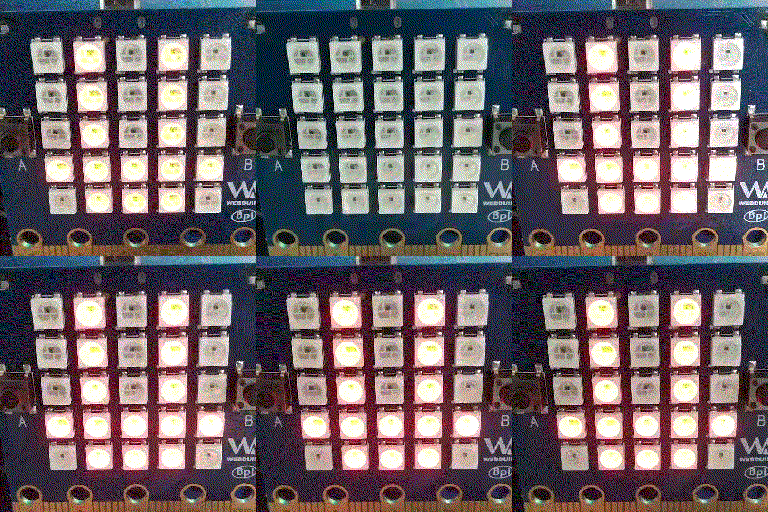
Now do you know how to create an animation, and do you know how to avoid looping forever?How to change the speed of the animation?If you understand everything, just give it a try,Let's create our own animation list. In this case, we'll animate the bottom of the boat.
from microbit import *
boat1 = Image("05050:"
             "05050:"
             "05050:"
             "99999:"
             "09990")
boat2 = Image("00000:"
             "05050:"
             "05050:"
             "05050:"
             "99999")
boat3 = Image("00000:"
             "00000:"
             "05050:"
             "05050:"
             "05050")
boat4 = Image("00000:"
             "00000:"
             "00000:"
             "05050:"
             "05050")
boat5 = Image("00000:"
             "00000:"
             "00000:"
             "00000:"
             "05050")
boat6 = Image("00000:"
             "00000:"
             "00000:"
             "00000:"
             "00000")
all_boats = [boat1, boat2, boat3, boat4, boat5, boat6]
display.show(all_boats, delay=500, loop=True)
operation effect:
Change the color of the image
We changed the color of the characters in the 1. Panel scrolling text in the previous section panel, so how can we change the color of the image? Let's keep looking down.
from microbit import *
from display import *
display.show(Image.ALL_CLOCKS, color=Blue, loop=True, delay=100)
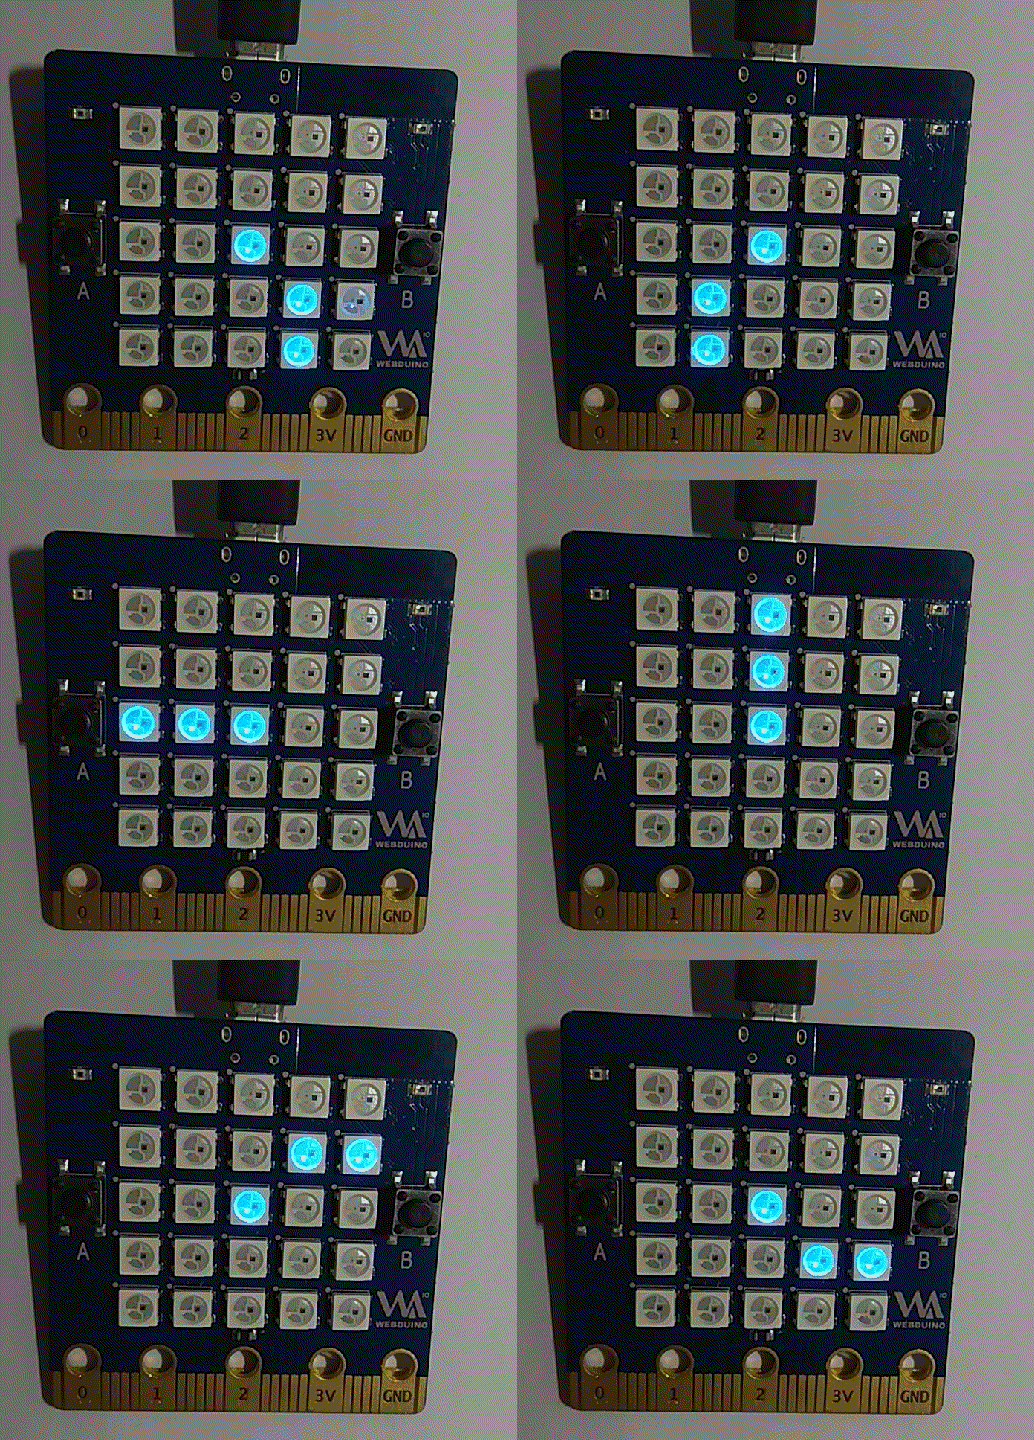
We will use the above example to change its color with simple modifications. We can see that the biggest difference from the previous code example is the addition of color=Blue to the show() function. This code is added after the Image, where the second argument to show() is. At this time, the color displayed has been modified by us.
As discussed in the previous section, we will import the display module if we want to use the built-in color, we used the built-in color Blue here, so we will import the display module from display import * at the beginning.
Of course, what if the built-in colors don't work? Also in reference to our previous chapter, we can customize a color.
from microbit import *
mycolor = [3, 1, 1]
display.show(Image.ALL_CLOCKS, color=mycolor, loop=True, delay=500)


