Difference between revisions of "13 Codelab Scratch3"
(→Last words) |
|||
| Line 48: | Line 48: | ||
=Last words= | =Last words= | ||
| + | |||
| + | *This time we provide a reeditable interface, but if you really want to know how to do it you can look at both projects. | ||
| + | |||
| + | - [https://github.com/junhuanchen/scratch3-eim-mpfshell scratch3-eim-mpfshell] | ||
| + | |||
| + | - [https://github.com/junhuanchen/webduino-module-eim webduino-module-eim] | ||
Revision as of 03:19, 28 March 2019
Contents
How to use scratch3 for bpi:bit
Online Scratch3 Codelab website,See here for more details CodeLab and scratch open soruce documents
First select the version of the system that works for you and get adapter ,No need installation , just open it.
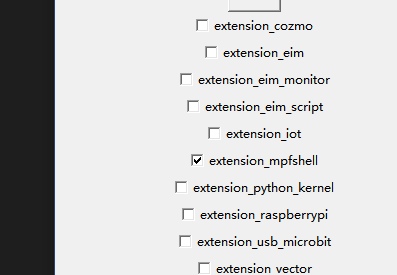
And then going to refer to usb_microbit user manual,in a similar way,,choose mpfshell option。
Begin to use BPI:bit with CodeLab scratch 3
1,Make sure adapter software and scratch3 websites are open.
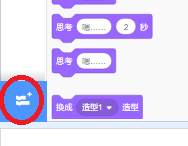
2,In scratch3, click on it (the expand button in the bottom left corner)
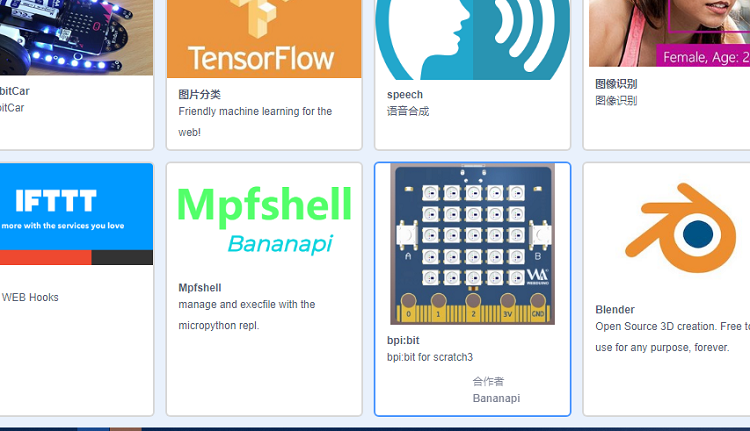
3,Scroll to the bottom, find the BPI :bit plug-in, select it, and click ok to return to the main interface.
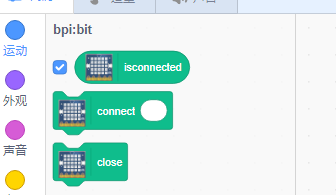
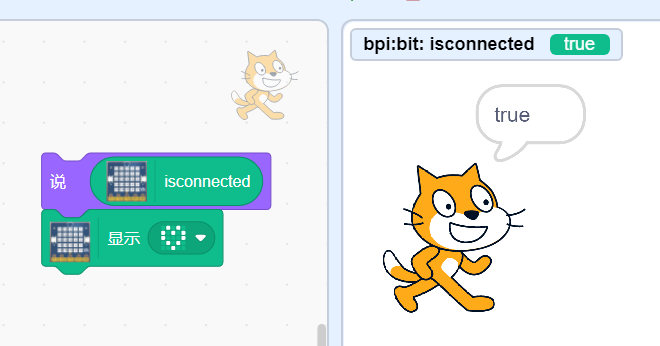
4,Check the isconnected indicator to connect
5,At this point, insert the hardware and click on the connection button. (if you're not sure, check with your regular mpfshell) if connect , will show "true"
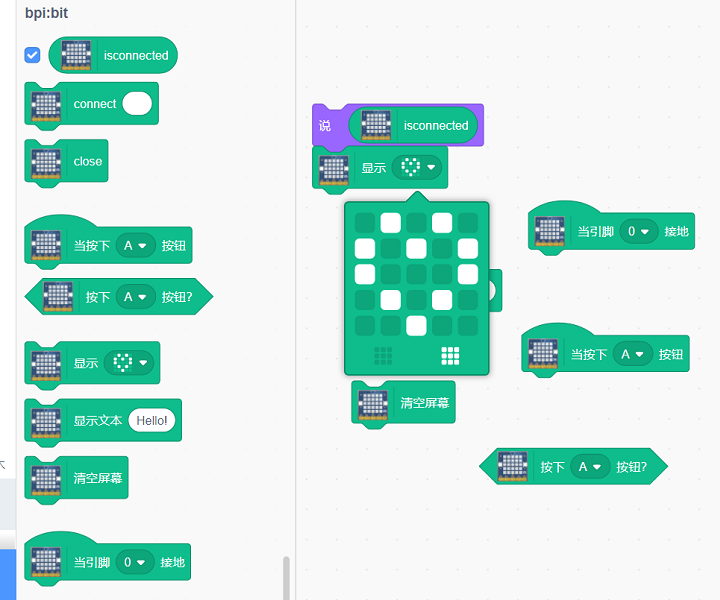
6,Now ,you can use CodeLab scratch 3 function.
7,Since then you can free to use their own building blocks, however, if you are not satisfied with own blocks and can be used directly mpfshell, direct control the hardware, if you want some combination of debugging interface, into a separate building blocks, can submit to us, directly to merge, but because there were no dynamic blocks scratch3 load, so we can't completely open
How to use Scratch3 for Mpfshell
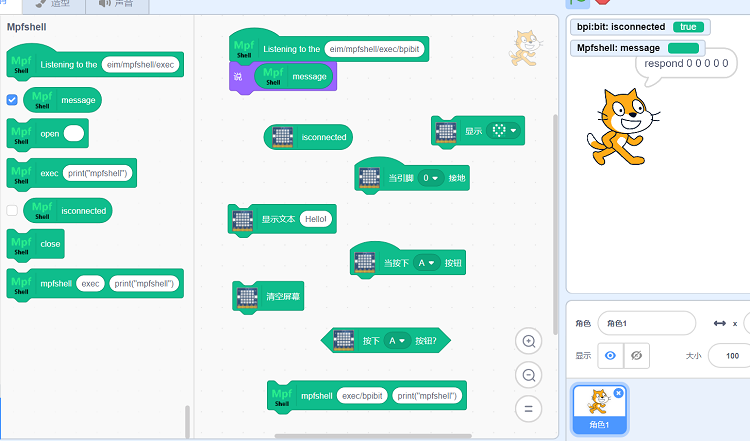
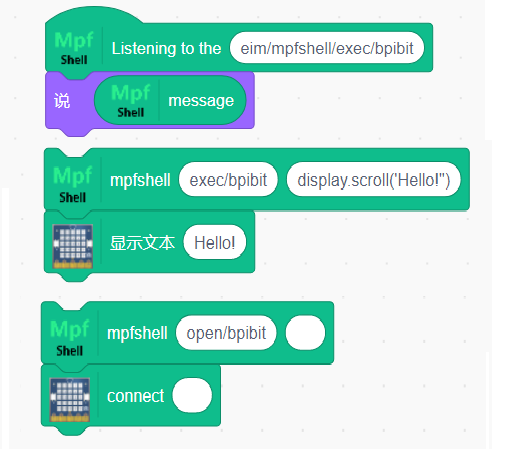
How to use mpfshell, in fact, only need to look at a few examples to know their origin and contrast relationship.
If you know how to use the mpfshell, it is same here. The so-called control hardware is actually equivalent to calling mpfshell exec every time.
But must pay attention to the place is the eim/mpfshell/exec/bpibit is a typical subject, it means, this is an instance of the access interface, if you have multiple hardware, it will present a different interface, such as the default mpfshell plugin theme is the eim/mpfshell/exec/default, and bpibit expansion is the eim/mpfshell/exec/bpibit, so can according to this distinction between multiple instances of control, You will find it necessary when you need it.
Last words
- This time we provide a reeditable interface, but if you really want to know how to do it you can look at both projects.
