BPI:bit MoonCar 登月小车
Contents
小车介绍
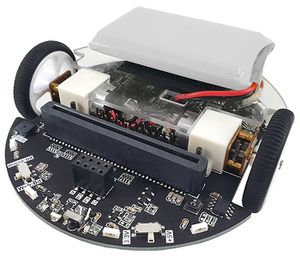
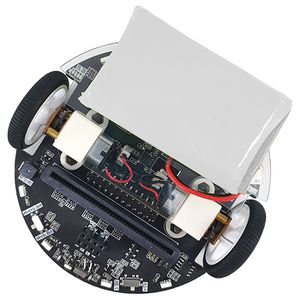
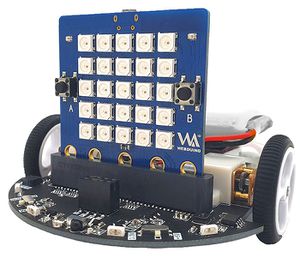
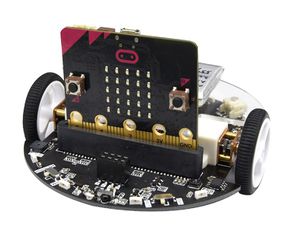
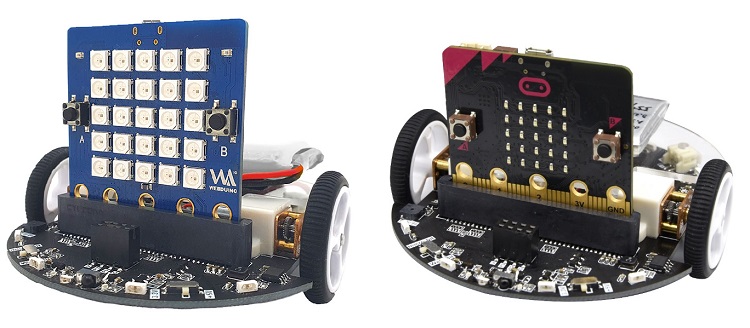
BPI:Bit MoonCar登月小车由Webduino 和 iCShop 合作开发,由banana Pi生产,是专门为 BPI:Bit 和 Micro:bit开发板所设计的自走车,内建巡迹功能、颜色感测、红外线发射接收与按钮,结合 Web:Bit 就能让点矩阵显示各种颜色的图案。前方保留超音波的脚位,可实作自动避障功能。透过webduino Web:Bit 教育版就能轻松实现更多有趣的控制方式!也可以配合Micro:bit 和makecode环境编程
硬件
power source
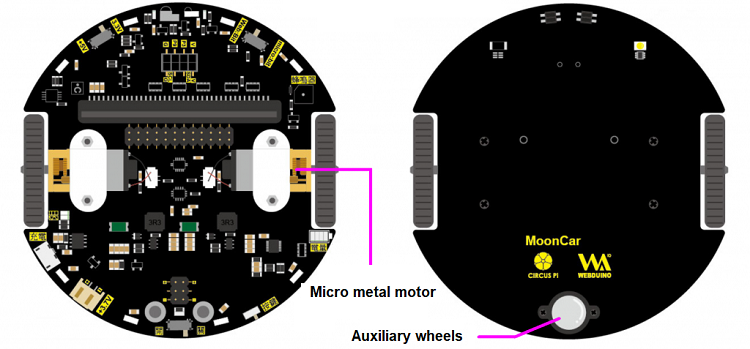
MoonCar comes with two tiny metal motors and a training wheel, which are of better quality and durability than the motors with plastic gearboxes. The training wheels are specially made of non-metallic materials, which can reduce the noise caused by striking the ground.
IR (Sending and receiving messages)
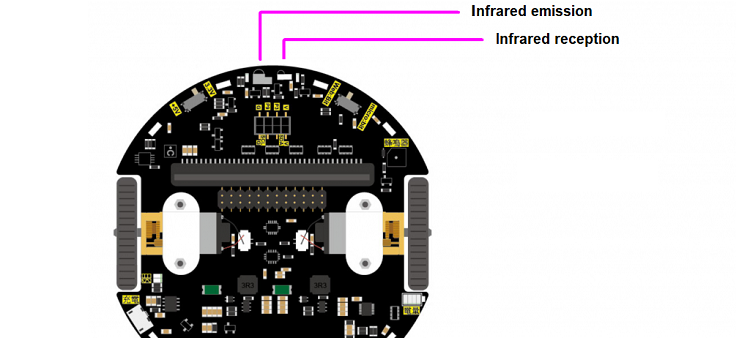
The front of the MoonCar is equipped with a pair of infrared emission and reception, through the general infrared remote control to its instructions. Infrared transmitters can send messages to communicate with other mooncars, making it much more playable.
buzzer (make a sound)
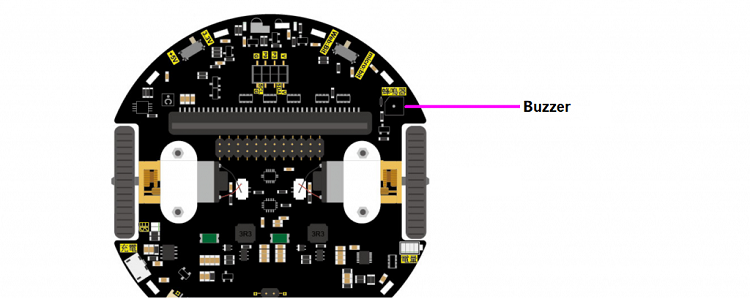
On the right side of the MoonCar is a passive buzzer that can be programmed to produce different sounds, such as an electronic organ or an alarm or a ringtone. I can edit the statements generated by different notes and pauses to make MoonCar sound like talking.
Magic lantern
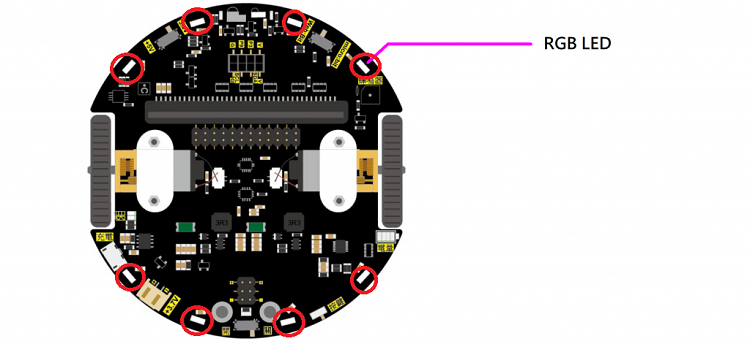
MoonCar is surrounded by a total of eight RGB LED lights, which are WS2812 and can be programmed to easily control the LED you want to light or adjust its brightness. Is there any color you want in the preset column? You can mix the colors you want by adjusting the proportions of R, G, and B channels.
Linear sensor (Track the line running)
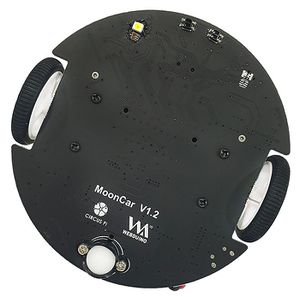
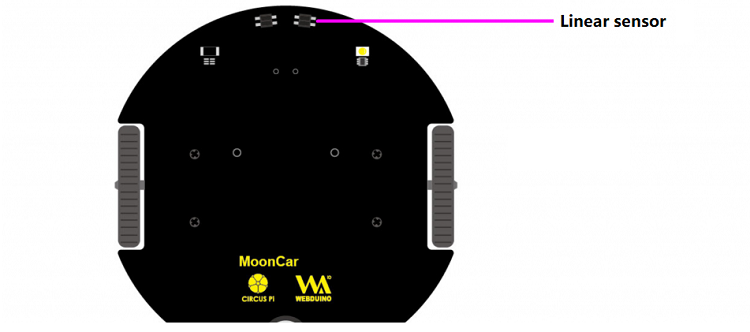
At the bottom of the MoonCar is a linear sensor that can move along black or white lines by reflecting infrared light. One on the left and the other on the right can detect the out-of-bounds direction of movement on the black line.
Color identification
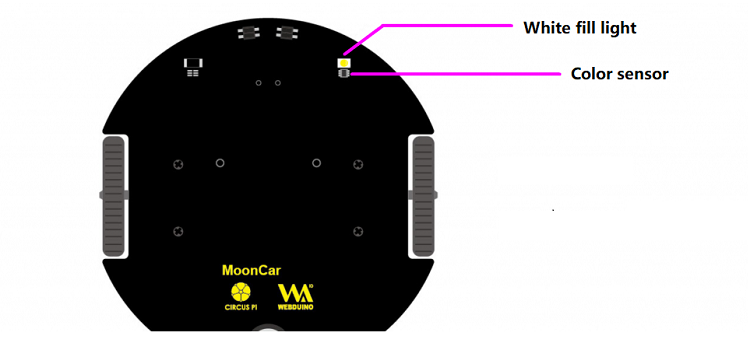
In addition to the linear sensor at the bottom, there is a color sensor, and a white light supplement light lamp. During the process, the color blocks on the ground can be identified, and the colors can be directly displayed with the magic LED, which greatly improves the fun.
Expansion function
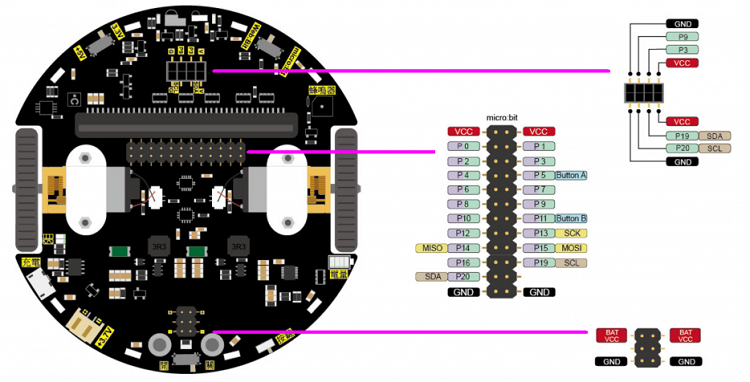
The front section is equipped with a set of ultrasound (4 pin) and I2C slot, and the left and right position of the middle section is equipped with 2×12 rows of pins, which pull out all the micro:bit foot positions, so that users can add functions at will. The latter section is used to expand the battery connection plate.
Considerate design
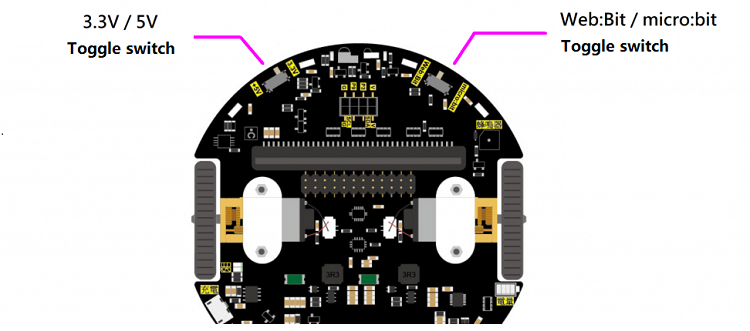
The biggest feature of MoonCar is that it can be used in the two main control boards of Web:Bit and micro: Bit. Because the foot position of the two motherboards is different, there is a switch on the right side to optimize the motherboard.
The left switch can switch the power supply voltage of the extended row of pins and slots, whether it is connected to a common 5V sensor or to a 3.3v module such as RFID, it can be used safely with a slight switch.
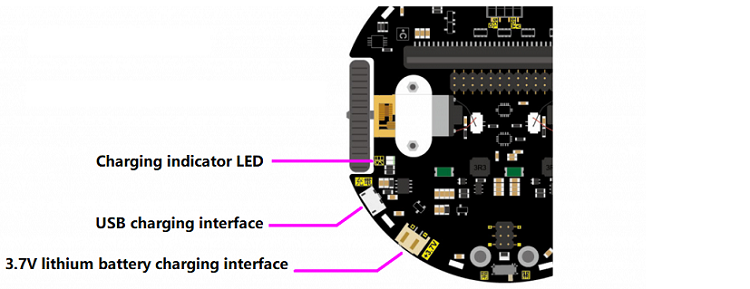
The lower left part has a charging indicator, which displays a red light when charging and a green light when full. Micro USB port can connect USB cable to charge lithium battery.
Conclusion
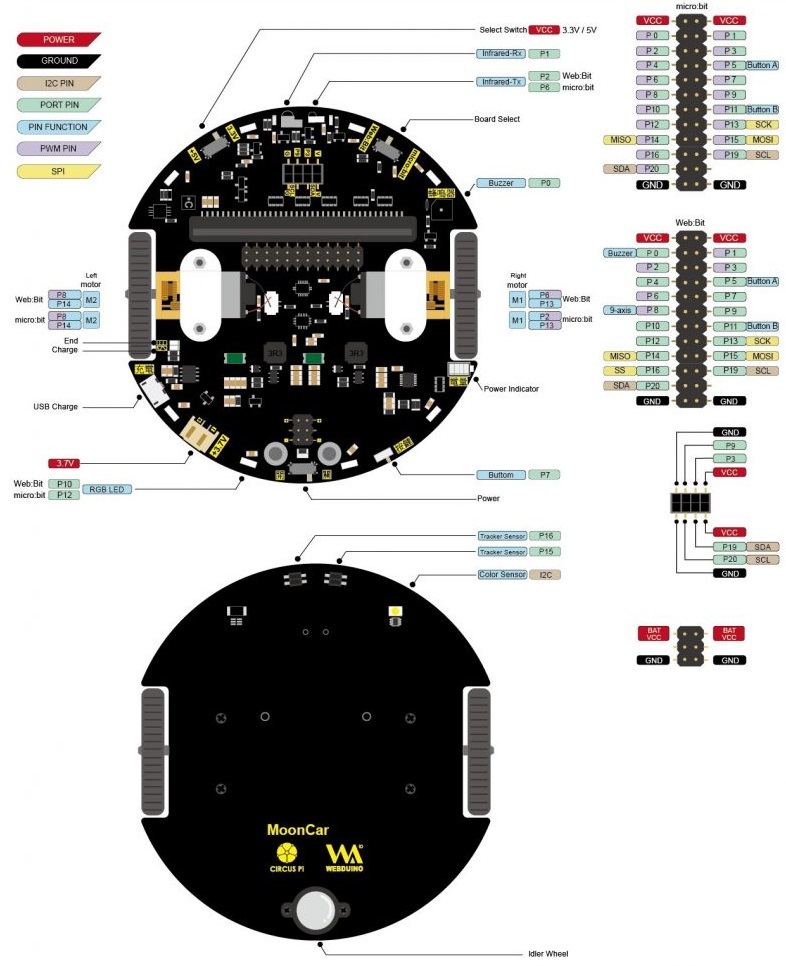
In this module we learned about MoonCar, and in the next module we'll start teaching you how to program our MoonCar to move around and explore. See the complete comparison diagram below for details on the sections and associated pins in this chapter.
Software
Use with BPI:bit
Use with Micro:bit
Sourcode on github
Mooncar project : https://github.com/iCShopMgr/MoonCar
