Install Linux & Android images on Banana pi SBC
Revision as of 22:34, 11 July 2019 by JackZengWiki (talk | contribs) (→Install Android Images On Banana Pis' Emmc)
Contents
Introduction
This page is main to describe how to install an image (Linux & Android) on Banana Pi SBC (TF card & Emmc) under Linux or Windows OS.
Install Images Under Windows PC
- If you install images on TF card under windows pc, please format your TF card firstly, but doesn't need to format TF card under Linux pc
Fomat TF Card
- Please see here to format your TF card:
- http://wiki.banana-pi.org/Quick_Start_Banana_pi_SBC#Format_your_SD_under_Windows_os
Install Linux Images
Install Linux Images On TF Card
- Before you doing this, please format your sd card firstly by following this link:
- http://wiki.banana-pi.org/Quick_Start_Banana_pi_SBC#Format_your_SD_under_Windows_os
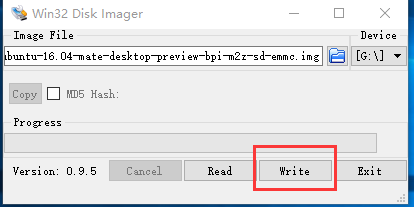
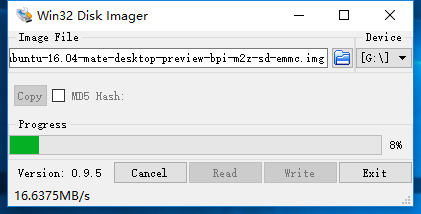
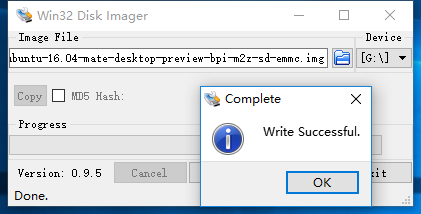
Use Win32DiskImager
- Download Win32DiskImager :https://sourceforge.net/projects/win32diskimager/
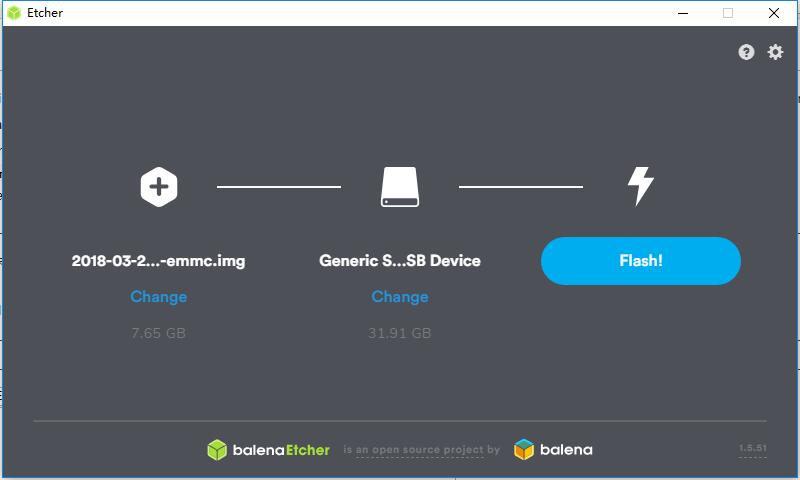
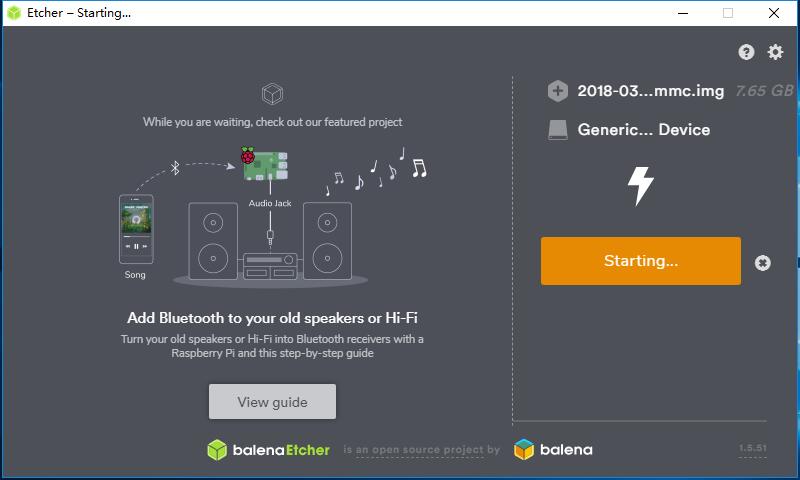
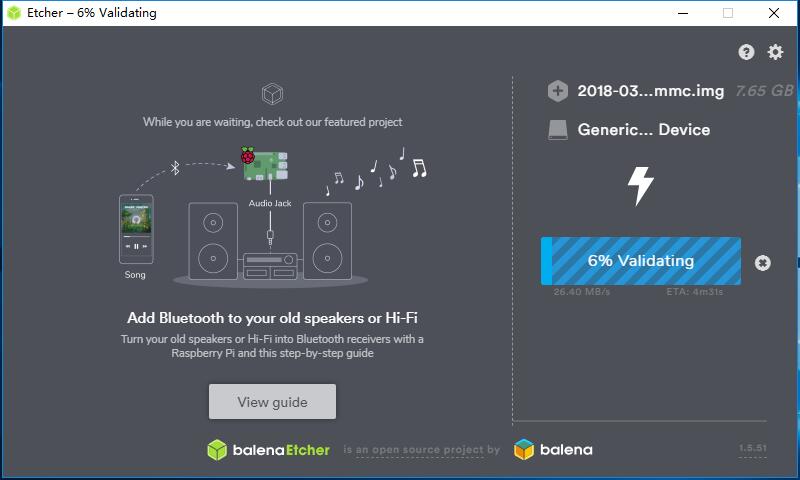
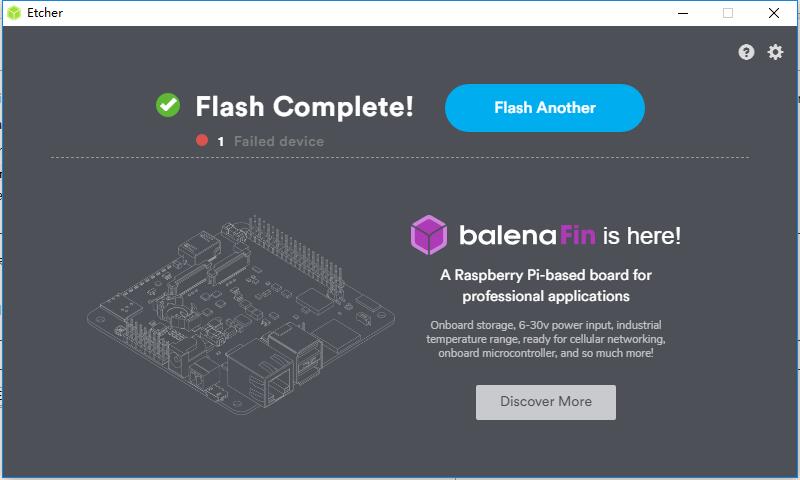
Use balenaEtcher
- Download balenaEtcher :https://www.balena.io/etcher/
Install Linux Images On Banana Pis' Emmc
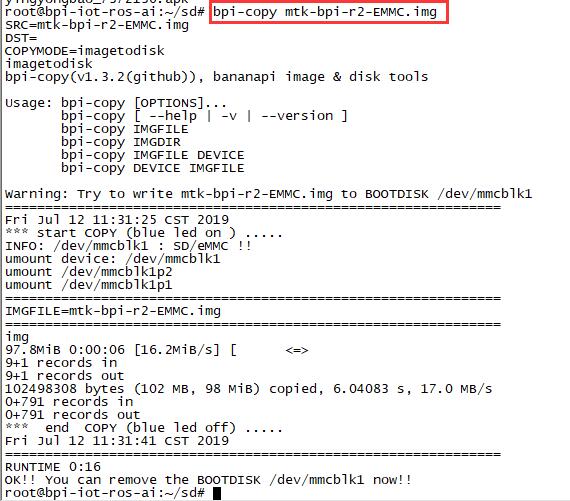
- Before install an linux image on board, please install an image on TF card firstly.
- After you installed image on TF card, then power on board by TF card
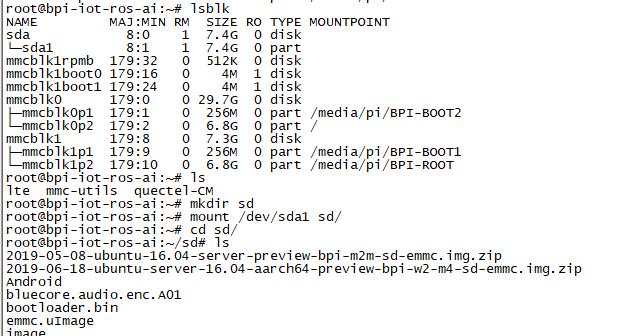
- Prepare image and store it in Udisk, plug Udisk into board.
- Using "bpi-copy" or "dd" command to flash image on board Emmc.
Install Android Images
Install Android Images On TF Card
- Before you doing this, please format your sd card firstly by following this link:
- http://wiki.banana-pi.org/Quick_Start_Banana_pi_SBC#Format_your_SD_under_Windows_os
Use PhoenixCard
- You could install an image on SD card by following link:
- http://wiki.banana-pi.org/Quick_Start_Banana_pi_SBC#how_to_write_Android_image
Install Android Images On Banana Pis' Emmc
Use PhoenixSuit
Use PhoenixCard
- Example:You could install an image on Emmc by following link:
- http://wiki.banana-pi.org/Getting_Started_with_M3#Load_your_image_on_M3_EMMC
