Getting Started with W2
Contents
[hide]Introduction
Read more: Banana Pi BPI-W2
Development
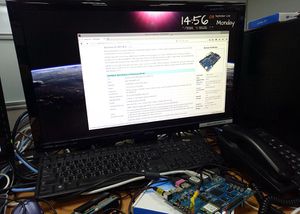
Let's get start to develop on BPI-W2, see amazing things happen.
Old page:Getting Started with BPI-W2
Basic Development
Prepare to develop
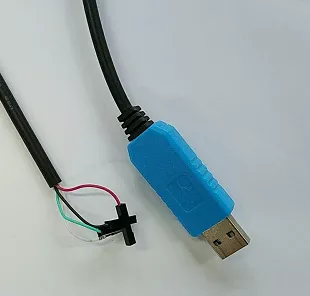
- Prepare 8G/above TF card, USB-Serial interface, PC with Ubuntu System
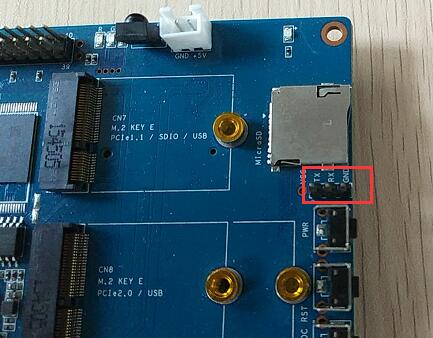
- Using your USB-Serial Connect debug console on W2
Load your first image on W2
 1.You could download latest image from our forum

 2.Install bpi-tools on your system
 * apt-get install pv
 * curl -sL https://github.com/BPI-SINOVOIP/bpi-tools/raw/master/bpi-tools | sudo -E bash

 3.After you download the image, insert your TF card into your Ubuntu
 * Execute "bpi-copy xxx.img /dev/sdx" to install image on your TF card.

 4.After step 3, then you can insert your TF card into W2, and press power button setup W2.
Advanced Development
GPIO
GPIO Control
PWM Control
NetWork
GMAC
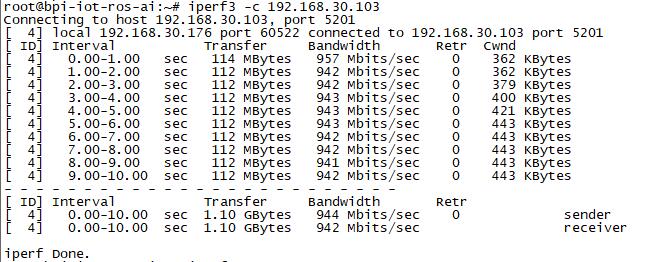
- iperf3 -c [server]
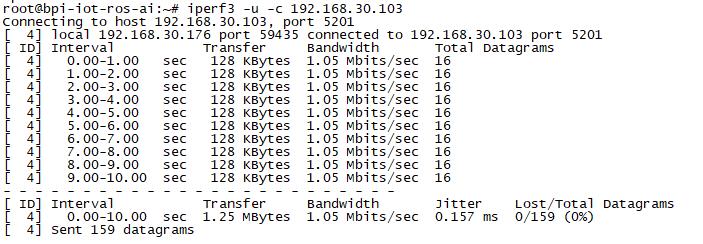
- iperf3 -u -c [server]
