How to use with Arduino IDE
Ardino IDE
How to setup and start
Need to be prepared:
- BPI-UNO32 1 or BPI:bit 1
- Jumper Cap 4
- microUSB 1
quickstart:
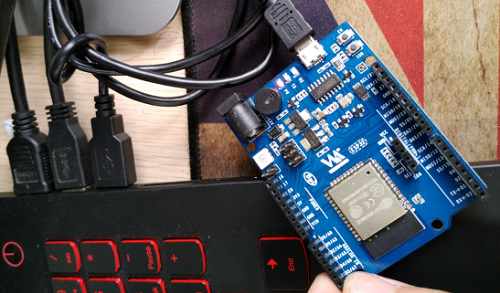
1,connect the four jumper caps to the top of the board, respectively, to connect the RGB LED to the buzzer. Then use the microUSB line to connect the development board to the computer.
- port:
- Connect:
open Arduino IDE and install ESP32 Expansion pack
Arduino IDE Software:(*[Arduino IDE])
ESP32 Expansion pack:(*[Installation guide]) ->Installation Instructions
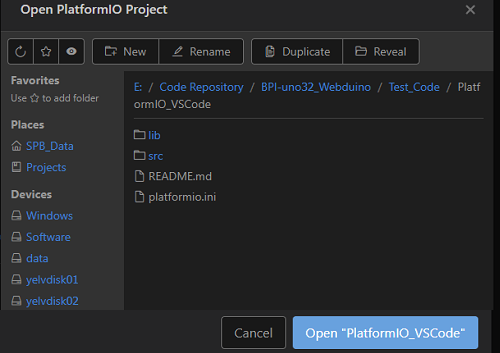
- Project:
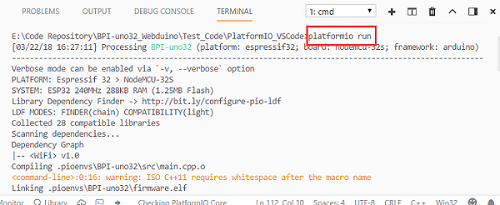
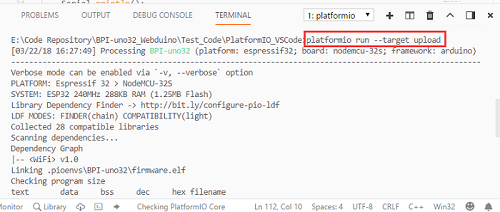
open the VS Code terminal console, input , compile the program, input , compile and burn the program. (if it hasn't been compiled before, it may be slow to compile the first time and need to be connected because he needs to get the corresponding platform information).
- platformio run:
- platformio run --target upload:
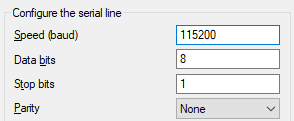
2,then open the serial port assistant tool, select BPI-UNO32 on the computer corresponding to the serial serial number, the serial port settings are selected as: Baud rate: 115200 Data bit: 8 Parity check: no Stop bit:
- Serial Config:
3,Test content:
- RGB LED fading.
- AD acquisition and testing of 6 ADC\_channel1.
- WiFi scan testing.
- Control test of buzzer gradient.

