Getting Started with M2P
Contents
Introduction
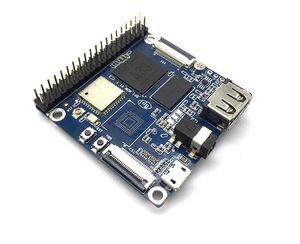
Banana Pi M2+ is mini size development board that offers great computing performance in an ultra portable form factor.It is a 65mm*65mm fantastic mini size board with Allwinner H series chips. It comes with different versions but share the same interfaces.
Read more: Banana Pi BPI-M2+
BPI-M2+ H3
Key Features
- Quad-core 1.2GHz Cortex-A7 H3
- 1GB DDR3
- 8GB eMMC onboard
- WiFi and BlueTooth onboard
- 10/100/1000Mbps Ethernet Port
Development
Let's get start to develop on BPI-M2P, see amazing things happen.
Basic Development
Prepare to develop
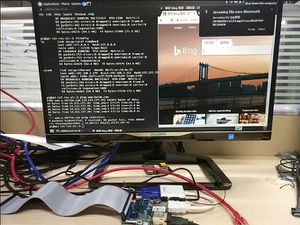
1.Prepare 8G/above TF card, USB-Serial interface, PC with Ubuntu System
2.Using your USB-Serial Connect debug console on M2P
Load your first image on M2P
 1.You could download latest image from our forum
 * Here is the example forum thread link: http://forum.banana-pi.org/t/banana-pi-bpi-m2p-new-image-release-ubuntu-16-04-v1-1/5719
 2.Install bpi-tools on your Ubuntu
 * apt-get install pv
 * curl -sL https://github.com/BPI-SINOVOIP/bpi-tools/raw/master/bpi-tools | sudo -E bash
 3.After you download the image, insert your TF card into your Ubuntu
 * Execute "bpi-copy xxx.img /dev/sdx" to install image on your TF card.
4.After step 3, then you can insert your TF card into M2P, and press power button setup M2P.
Advanced Development
GMAC
- Use iperf3 to test gmac
Error creating thumbnail: Unable to save thumbnail to destination
Bluetooth
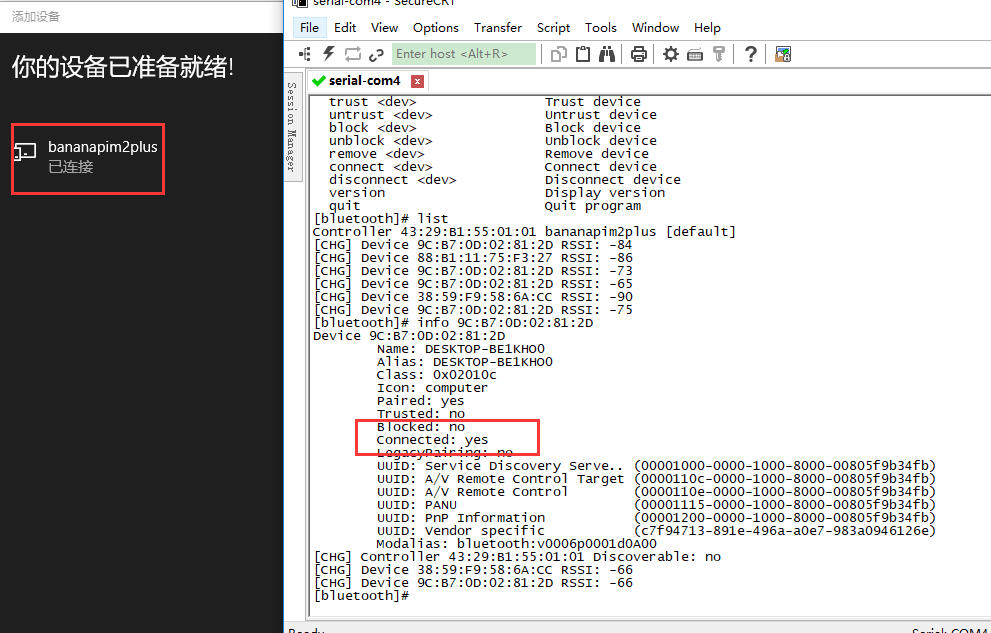
- Use bluetoothctl tool to operate BT
- Execute "bluetoothctl"
- If you don't know how to use bluetoothctl, type "help", you will see more commands
- Execute these commands:
Error creating thumbnail: Unable to save thumbnail to destination
WiFi on M2P
WiFi Client
You have two ways to setup WiFi Client
1. Use commands to setup WiFi client
- ip link set wlan0 up
- iw dev wlan0 scan | grep SSID
- vim /etc/wpasupplicant/wpa_supplicant.conf
- network={ ssid="ssid" psk="password" priority=1 }
- wpa_supplicant -B -dd -i wlan0 -c /etc/wpa_supplicant/wpa_supplicant.conf
- dhclient wlan0
2. Use UI interface to setup WiFi Client
Clear boot
- git clone https://github.com/BPI-SINOVOIP/BPI-files/tree/master/SD/100MB
- bpi-bootsel BPI-cleanboot-8k.img.gz /dev/sdX
Camara function
We use HDF5640 camara.
Error creating thumbnail: Unable to save thumbnail to destination
Guvcview
- Use your UI interface to operate camara
- Applications -> Sound & Video -> guvcview
Error creating thumbnail: Unable to save thumbnail to destination
- We also have built-in command in /usr/local/bin to test camara
- test_ov5640_image_mode.sh
- cameratest.sh
IR function
- Execute getevent
- Use your IR device to send information to M2P
Error creating thumbnail: Unable to save thumbnail to destination
WringPi
- GitHub: https://github.com/BPI-SINOVOIP/BPI-WiringPi2.git
- We also have built-in test command in /usr/local/bin
RGB 1602 LCD
- Execute bpi_test_lcd1602
Error creating thumbnail: Unable to save thumbnail to destination
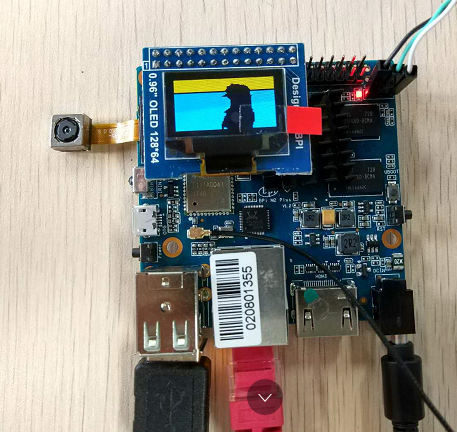
0.96 Inch OLED Display
- Execute bpi_test_52pi
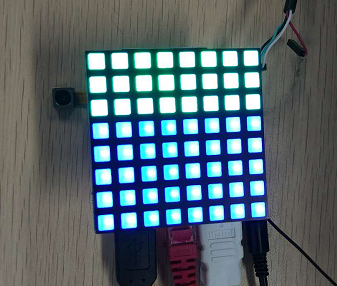
8x8 RGB LED Martix
- Firstly you need a GPIO Extend Board for 8x8 LED Martix
Error creating thumbnail: Unable to save thumbnail to destination
- Execute bpi_test_gpio40
