Getting Started with BPI-R4
Contents
Development
Basic Development
Prepare to develop
 * Prepare 8G/above TF card, USB-Serial cable, Ubuntu System
 * Using your USB-Serial cable(3.3V TTL,Baud=115200) Connect to debug console on BPI-R4
   G=GND;  RX=BPI-R4 input;  TX=BPI-R4 output
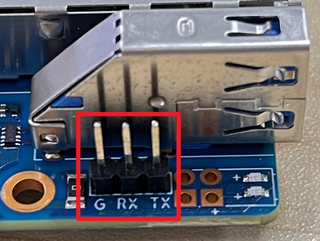
* BPI-R4 bootstrap and device select Jumper Setting
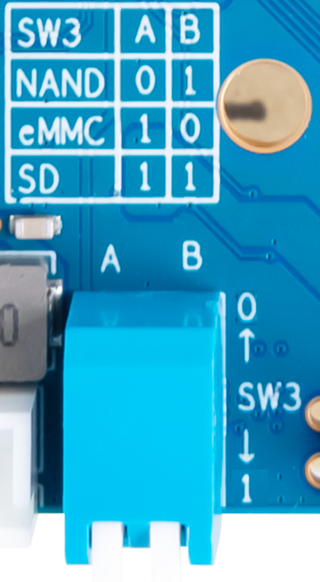
* Examples:
1. All Jumper is "1", BPI-R4 will boot from SD card
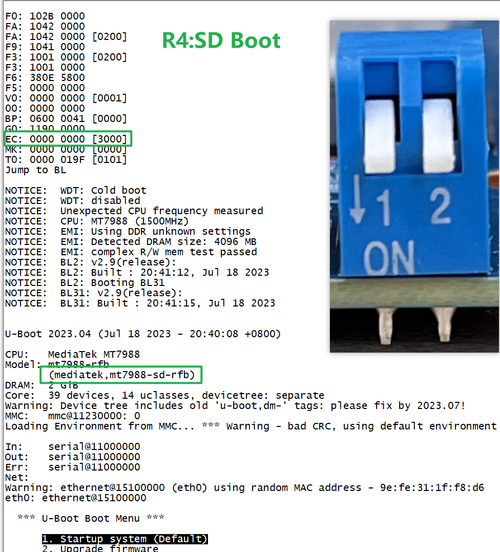
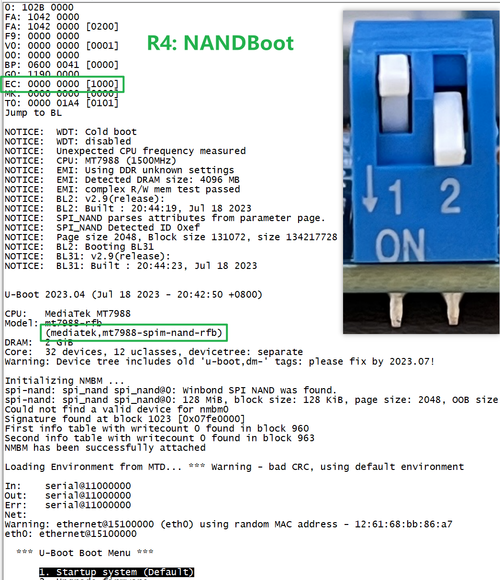
2. SW3-A is "0" and SW3-B is "1" , BPI-R4 will boot from SPI NAND
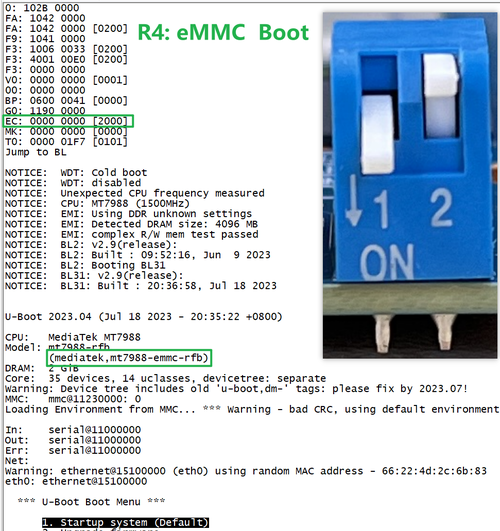
3. SW3-A is "1" and SW3-B is "0" , BPI-R4 will boot from eMMC
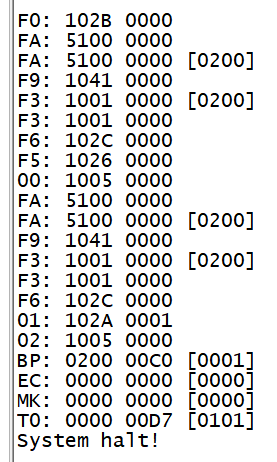
4. If the console said "system halt!", it means that the bootup storage does not cotain any OS
Accessories
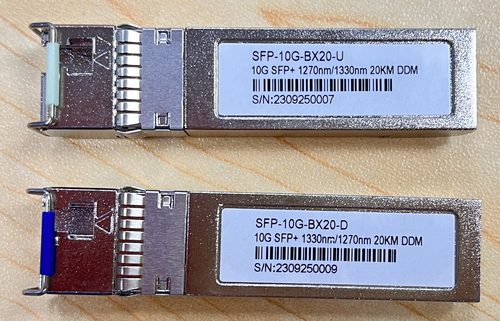
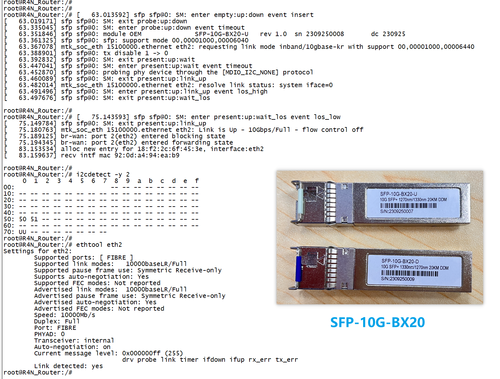
1. 10G SFP Module
The SFP serdes speed of BPI-R4 is fixed at 10Gbps, so only SFP that support this can be used!
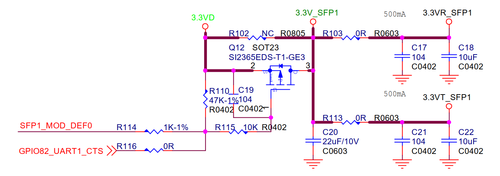
Usually the PIN6 of 10G SFP+ module is GND. After inserting the module, SFP_MOD_DEF0 will be pulled low, thereby turning on the SFP power supply.
Therefore, if this PIN of the module is not GND, 3.3V_SFP power will not be supplied!
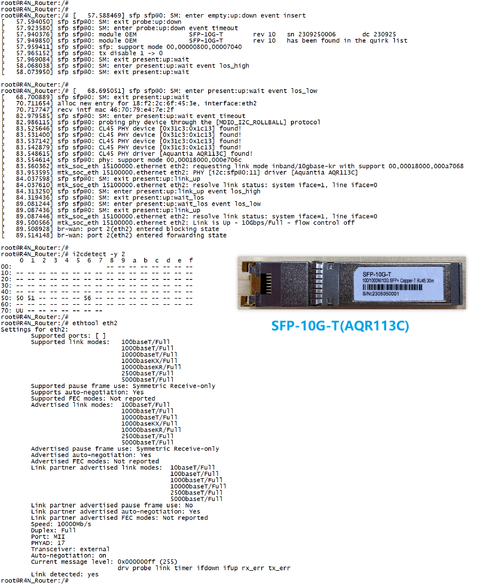
10G SFP+ Copper Module
The temperature of this module is very high when used for a long time, It can reach 90℃ without a heat sink or cooling fan. Be careful to prevent burns!
Note:
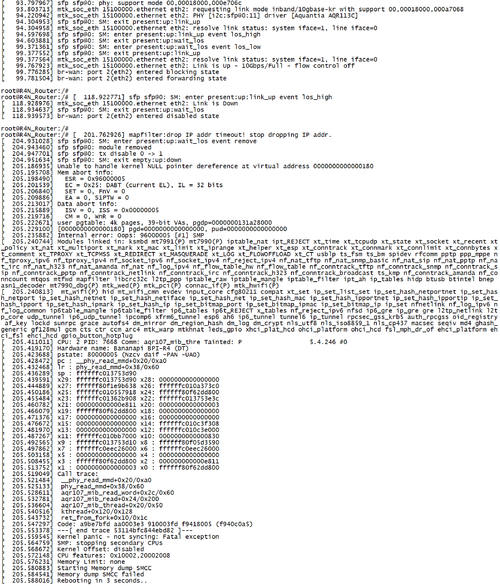
Do not pull out this module once it is inserted, otherwise it will cause BPI-R4 to reboot.This phenomenon does not exist with other modules.
