Difference between revisions of "How to bulid a image with BSP"
JackZengWiki (talk | contribs) (→Introduction) |
JackZengWiki (talk | contribs) (→Introduction) |
||
| Line 1: | Line 1: | ||
=Introduction= | =Introduction= | ||
| − | == | + | ==Step One: download and compile BSP code== |
Here I use BPI-M4 as an example: | Here I use BPI-M4 as an example: | ||
| Line 13: | Line 13: | ||
[[FILE:build_image_2.png]] | [[FILE:build_image_2.png]] | ||
| − | ==Install an image on SD card== | + | ==Step Two: Install an image on SD card== |
1. You could install an image by following here: [[Install Linux & Android images on Banana pi SBC]] | 1. You could install an image by following here: [[Install Linux & Android images on Banana pi SBC]] | ||
| Line 20: | Line 20: | ||
[[FILE:build_image_3.png]] | [[FILE:build_image_3.png]] | ||
| − | ==Make an image== | + | ==Step Three: Make an image== |
| − | 1. Our bsp could not build an image directly, so we need to make an image from | + | 1. Our bsp could not build an image directly, so we need to make an image from sd card which has installed an image. |
Revision as of 00:46, 30 July 2019
Contents
Introduction
Step One: download and compile BSP code
Here I use BPI-M4 as an example:
1. Execute command: "git clone https://github.com/BPI-SINOVOIP/BPI-M4-bsp.git" to download bsp code.
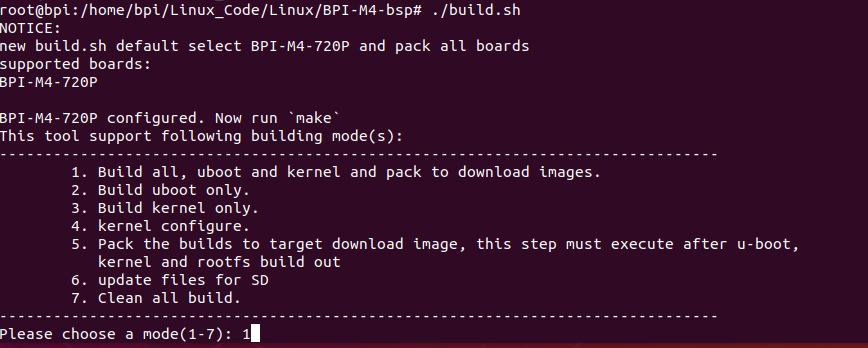
2. Execute command: "./build.sh" then choose "1" to build the bsp
3. After built bsp code, the boot and kernel files will be generated in "SD/bpi-m4".
Step Two: Install an image on SD card
1. You could install an image by following here: Install Linux & Android images on Banana pi SBC
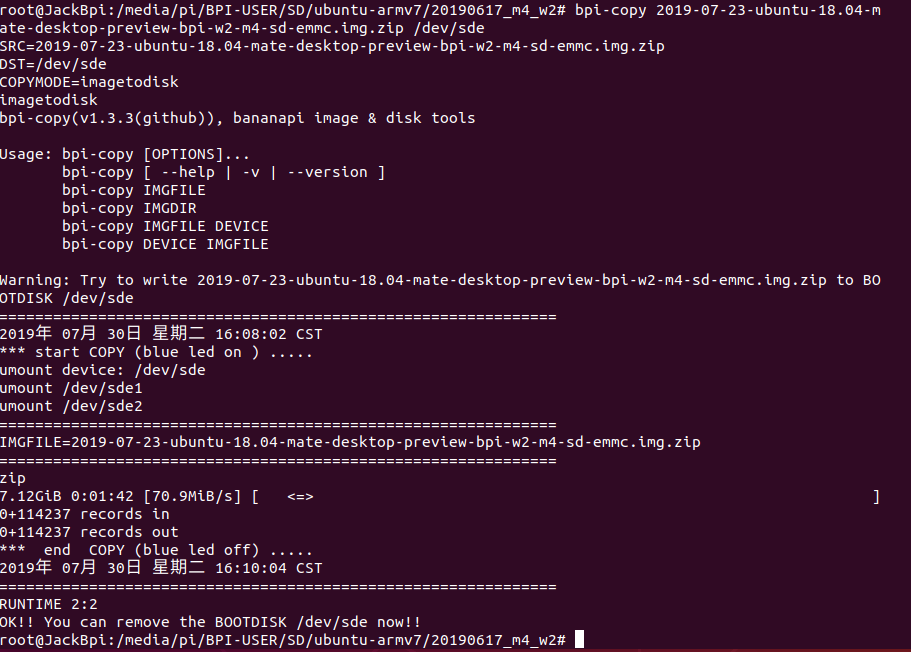
2. Here I install an image under a ubuntu os, “bpi-copy 2019-07-23-ubuntu-18.04-mate-desktop-preview-bpi-w2-m4-sd-emmc.img.zip /dev/sde”
Step Three: Make an image
1. Our bsp could not build an image directly, so we need to make an image from sd card which has installed an image.


