Difference between revisions of "Getting Started with BPI-M4 Berry"
| Line 33: | Line 33: | ||
:[https://github.com/balena-io/balena-cli Balena CLI] is a Command Line Interface for balenaCloud or openBalena. It can be used to flash linux image. Download the installer or standalone package from [https://github.com/balena-io/balena-cli/releases balena-io] and [https://github.com/balena-io/balena-cli/blob/master/INSTALL.md install] it correctly to your PC, then you can use the "[https://docs.balena.io/reference/balena-cli/#local-flash-image local flash]" command option of balena to flash a linux image to sdcard or usb drive. | :[https://github.com/balena-io/balena-cli Balena CLI] is a Command Line Interface for balenaCloud or openBalena. It can be used to flash linux image. Download the installer or standalone package from [https://github.com/balena-io/balena-cli/releases balena-io] and [https://github.com/balena-io/balena-cli/blob/master/INSTALL.md install] it correctly to your PC, then you can use the "[https://docs.balena.io/reference/balena-cli/#local-flash-image local flash]" command option of balena to flash a linux image to sdcard or usb drive. | ||
| − | + | sudo balena local flash path/to/xxx-bpi-m4-berry-xxx.img.zip | |
| − | + | sudo balena local flash path/to/xxx-bpi-m4-berry-xxx.img.zip --drive /dev/disk2 | |
| − | + | sudo balena local flash path/to/xxx-bpi-m4-berry-xxx.img.zip --drive /dev/disk2 --yes | |
:3. Install Image with dd command on Linux, umount SDcard device /dev/sdX partition if mounted automatically. Actually bpi-copy is the same as this dd command. | :3. Install Image with dd command on Linux, umount SDcard device /dev/sdX partition if mounted automatically. Actually bpi-copy is the same as this dd command. | ||
| − | + | sudo apt-get install pv unzip | |
| − | + | sudo unzip -p xxx-bpi-m4-berry-xxx.img.zip | pv | dd of=/dev/sdX bs=10M status=noxfer | |
:4. Install image with bpi-tools on Linux, plug SDcard to Linux PC and run | :4. Install image with bpi-tools on Linux, plug SDcard to Linux PC and run | ||
| − | + | sudo apt-get install pv unzip | |
| − | + | sudo bpi-copy xxx-bpi-m4-berry-xxx.img.zip /dev/sdX | |
Revision as of 22:33, 10 October 2023
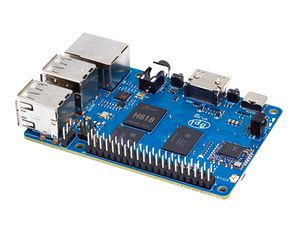
Banana Pi BPI-M4 Berry H618 design
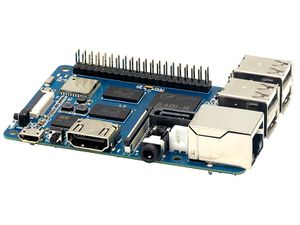
Banana Pi BPI-M2 Berry A40i-H design
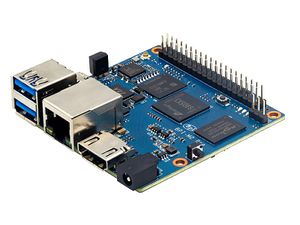
Banana Pi BPI-M2 Pro S905x3 design
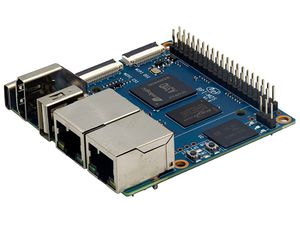
Banana Pi BPI-M2S Amlogic A311D/S922 chip
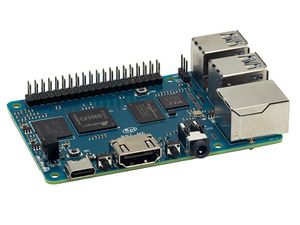
Banana Pi BPI-M5 with S905x3 design
development
Linux
Prepare
- 1. Linux image support SDcard or EMMC bootup, but you should read the [Boot_Sequence boot sequence] at first.
- 2. It’s recommended to use A1 rated cards, 8GB at least.
- 3. Make sure bootable EMMC is formatted if you want bootup from SDcard.
- 4. Make sure SDcard is formatted without Linux image flashed if you want bootup from EMMC and use Sdcard as storage.
- 5. Download latest [Linux Linux Image], and confirm that the md5 checksum is correct.
- 6. Default login: pi/bananapi or root/bananapi
- 7. The wiki guide is only for [bananapi 4.9 bsp ubuntu/debian images].
Install Image to SDcard
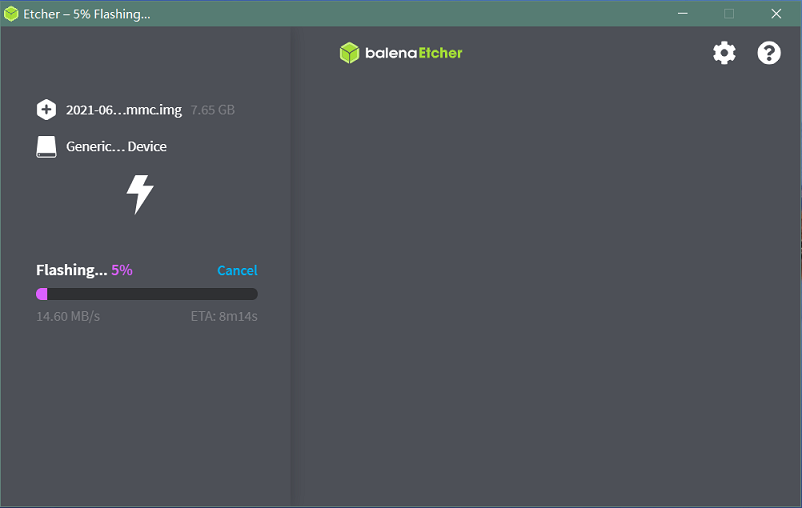
- 1. Install Image with Balena Etcher on Windows, Linux and MacOS.
- Balena Etcher is an opensource GUI flash tool by Balena, Flash OS images to SDcard or USB drive.
- 2. Install Image with Balena Cli on Windows, Linux and MacOS.
- Balena CLI is a Command Line Interface for balenaCloud or openBalena. It can be used to flash linux image. Download the installer or standalone package from balena-io and install it correctly to your PC, then you can use the "local flash" command option of balena to flash a linux image to sdcard or usb drive.
 sudo balena local flash path/to/xxx-bpi-m4-berry-xxx.img.zip
 sudo balena local flash path/to/xxx-bpi-m4-berry-xxx.img.zip --drive /dev/disk2
 sudo balena local flash path/to/xxx-bpi-m4-berry-xxx.img.zip --drive /dev/disk2 --yes
- 3. Install Image with dd command on Linux, umount SDcard device /dev/sdX partition if mounted automatically. Actually bpi-copy is the same as this dd command.
 sudo apt-get install pv unzip
 sudo unzip -p xxx-bpi-m4-berry-xxx.img.zip | pv | dd of=/dev/sdX bs=10M status=noxfer
- 4. Install image with bpi-tools on Linux, plug SDcard to Linux PC and run
 sudo apt-get install pv unzip
 sudo bpi-copy xxx-bpi-m4-berry-xxx.img.zip /dev/sdX
