Difference between revisions of "4 Pycharm IDE programming"
(→Install the pycharm community version) |
(→Install the pycharm community version) |
||
| Line 16: | Line 16: | ||
*When the installation is complete, open it. Press the default Settings to enter the following interface. | *When the installation is complete, open it. Press the default Settings to enter the following interface. | ||
::[[File:Python03.png]] | ::[[File:Python03.png]] | ||
| − | |||
=Create a new project= | =Create a new project= | ||
Revision as of 18:56, 18 February 2019
Install Python 3.7
- get Python, the latest version is (3.7, 11/08/2018)
- use Windows click here to download
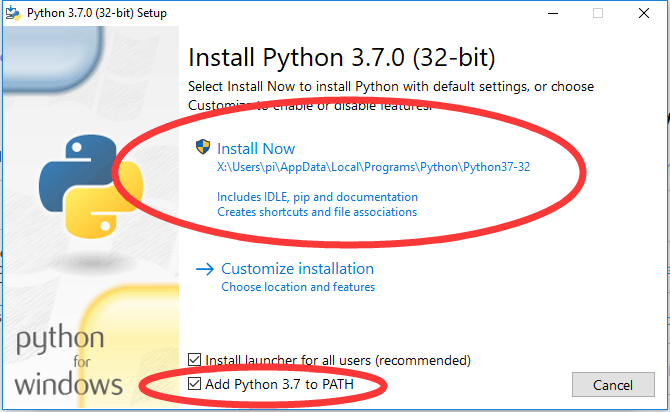
- setup interface is as follows!
- the system already has Python.
Install the pycharm community version
- Get pycharm
- Using the Windows system click here to download the 2018 - version 2.3 (community free of charge)
- Tip: 2018.3.3 change is too big, do not use, wait for me to compile repair. (2019/01/13)
- Important note 1: program installation and project under Windows must be under the system disk (path should be consistent)
- Important clew 2, Linux system if there is a serial connection, please kindly check whether the serial port for the average user permissions, if not sure, please check this instruction ` usermod - a - G dialout Username && sudo reboot `, Username is to point to your user name, not a Username.
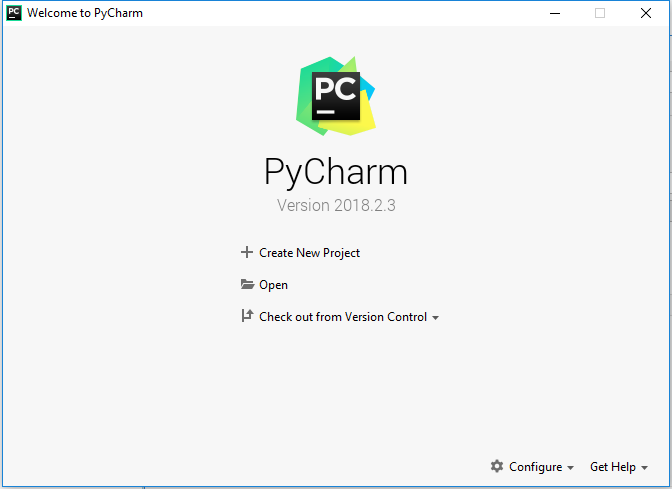
- When the installation is complete, open it. Press the default Settings to enter the following interface.
Create a new project
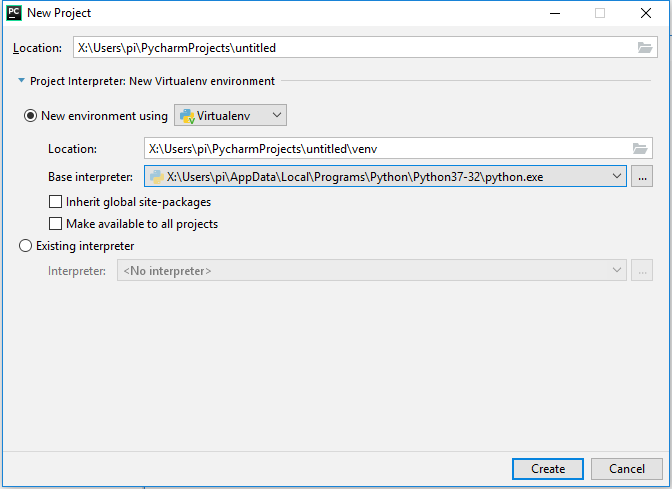
- Click Create New Project to bring up the following interface.
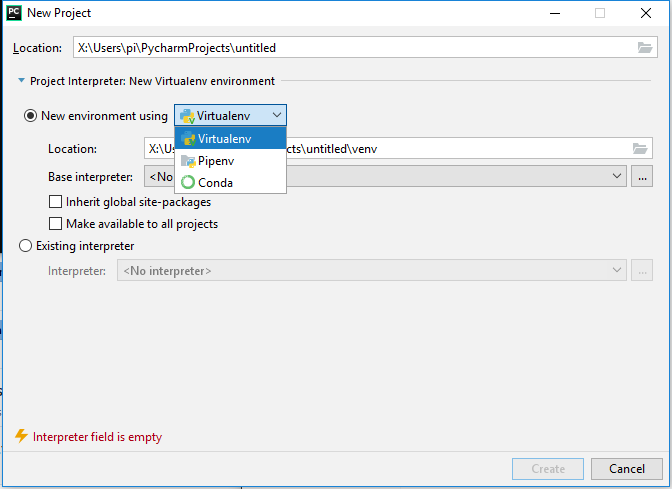
- If you do not have Python installed, here is the interface
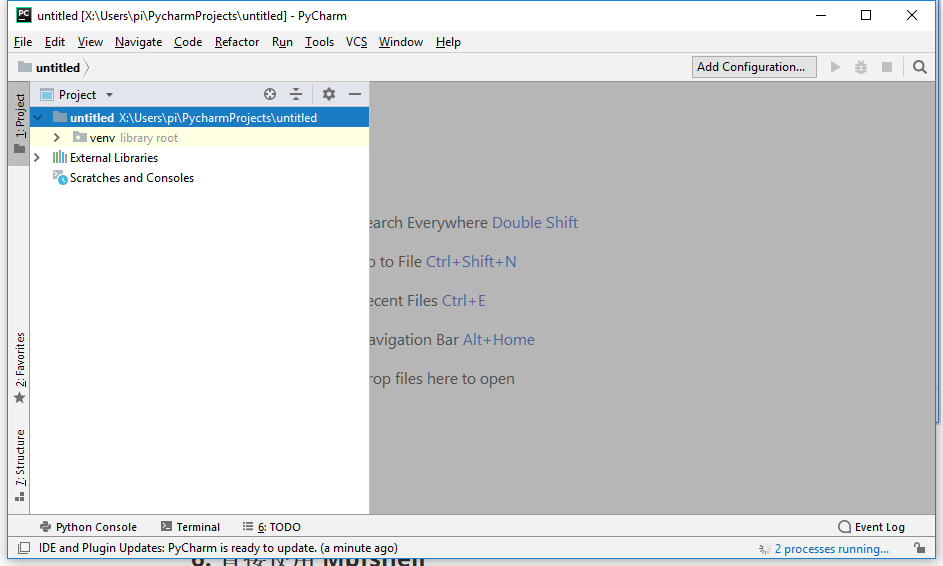
- Finally, you can see that the project has been established and completed.
