Difference between revisions of "BPI-R64 + MT7615 function test"
(→performance test) |
|||
| Line 34: | Line 34: | ||
=performance test= | =performance test= | ||
| − | + | Since there is only one antenna for wifi, the connection speed is only 433Mbps. During the test, there are no walls or other barriers between the notebook and MT7615, and MT7615 is in the channel with less interference. | |
| − | |||
[[File:7615_test_4.png]] | [[File:7615_test_4.png]] | ||
| − | ==0. | + | ==0.5 meter distance test== |
| − | 5.1. | + | 5.1.Distance 0.5 m test: MT7615 distance 0.5 m from laptop |
| − | 5.1.1. | + | 5.1.1.signal strength |
[[File:7615_test_5.jpg]] | [[File:7615_test_5.jpg]] | ||
| − | 5.1.2. | + | 5.1.2.iperf speed test |
[[File:7615_test_6.jpg]] | [[File:7615_test_6.jpg]] | ||
| − | == | + | ==5 speed distance test== |
| − | 5.2.1. | + | 5.2.1.signal strength |
[[File:7615_test_7.jpg]] | [[File:7615_test_7.jpg]] | ||
| − | 5.2.2. | + | 5.2.2.iperf speed test |
[[File:7615_test_8.png]] | [[File:7615_test_8.png]] | ||
| − | + | ==10 speed distance test== | |
| − | 5.3.1. | + | 5.3.1.signal strength |
[[File:7615_test_9.jpg]] | [[File:7615_test_9.jpg]] | ||
| − | 5.3.2. | + | 5.3.2.iperf speed test |
[[File:7615_test_10.jpg]] | [[File:7615_test_10.jpg]] | ||
Revision as of 23:21, 10 April 2020
BPI-R64+MT7615 test wifi function with openwrt
Contents
Test environment and software
List of items required
- 1.1.BPI-R64
- 1.2.BPI-MT7615 module
- 1.3.12V/2A adapter
- 1.4.USB serial port line(3.3V)
- 1.5.TF card
- 1.6.5.8GHz wifi antenna,1-4 pcs
- 1.7.Openwrt image; http://wiki.banana-pi.org/Banana_Pi_BPI-R64#Release
Environment set up
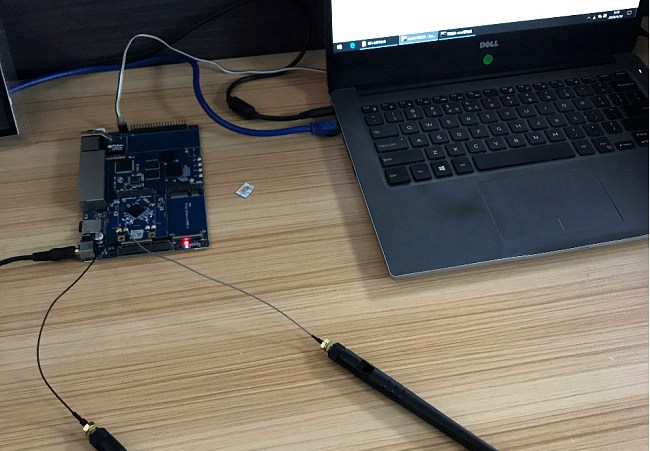
2.use tooling(windows Win32DiskImager)burn BPI-R64 openwrt image to TF card,Then insert the TF card slot;MT7615 module insert to BPI-R64 mPCIe interface CN25,connect UART debug line and wifi antenna, then power on to boot.
Configure Network
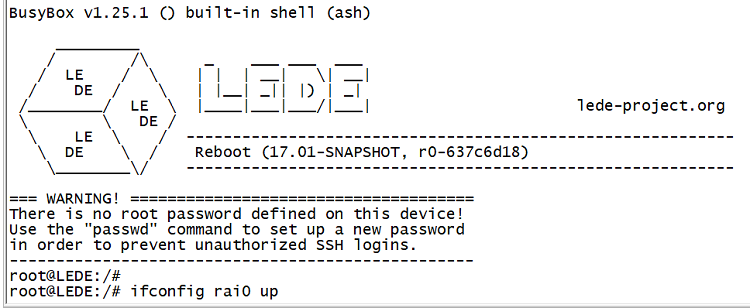
3.When the boot is complete, type in the serial port : ifconfig rai0 up to boot MT7615 Then configure rai0 IP address,such as :ifconfig rai0 192.168.11.11
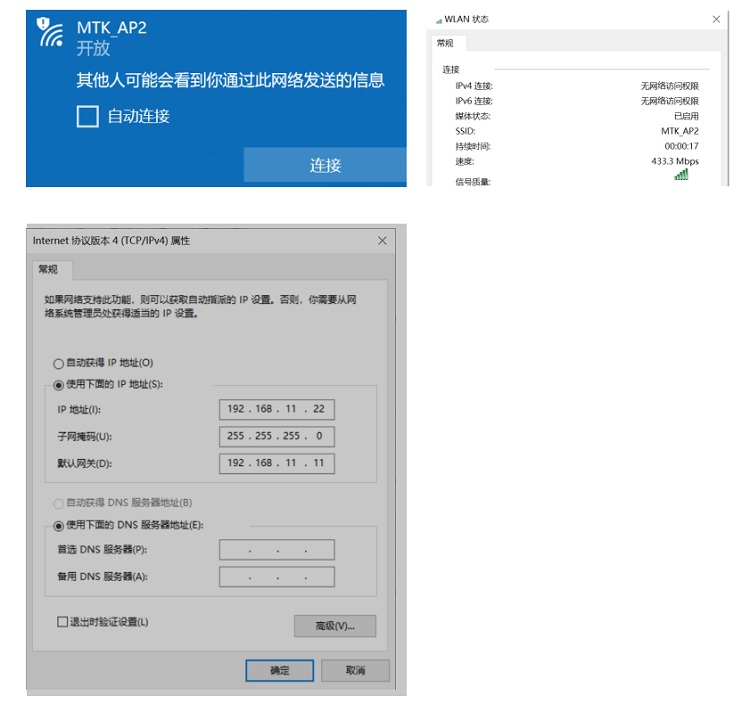
4.use PC to connect MTK_AP2 SSID,Then configure the IP manually
performance test
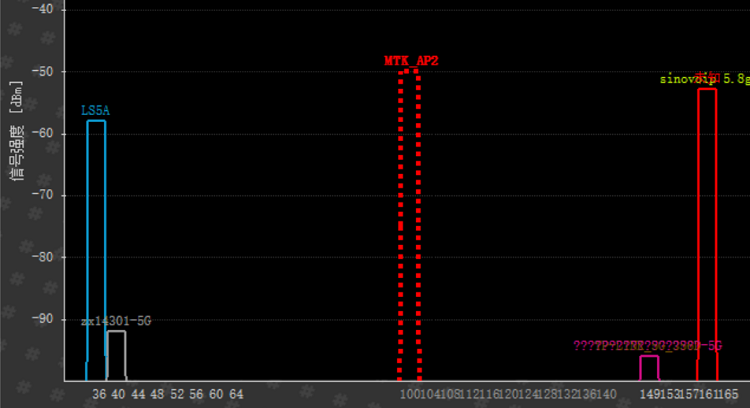
Since there is only one antenna for wifi, the connection speed is only 433Mbps. During the test, there are no walls or other barriers between the notebook and MT7615, and MT7615 is in the channel with less interference.
0.5 meter distance test
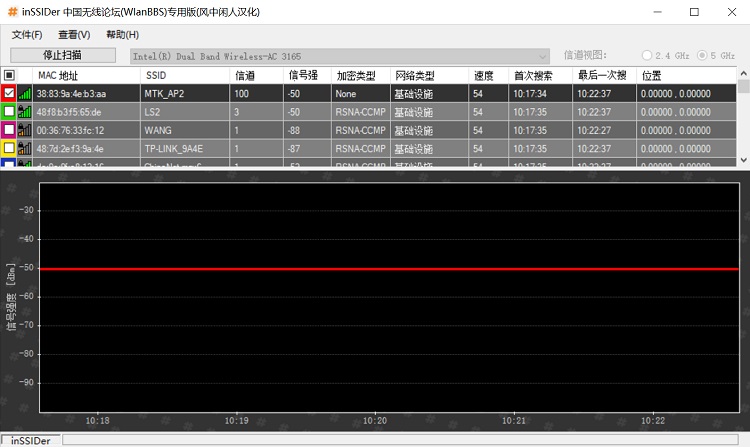
5.1.Distance 0.5 m test: MT7615 distance 0.5 m from laptop 5.1.1.signal strength
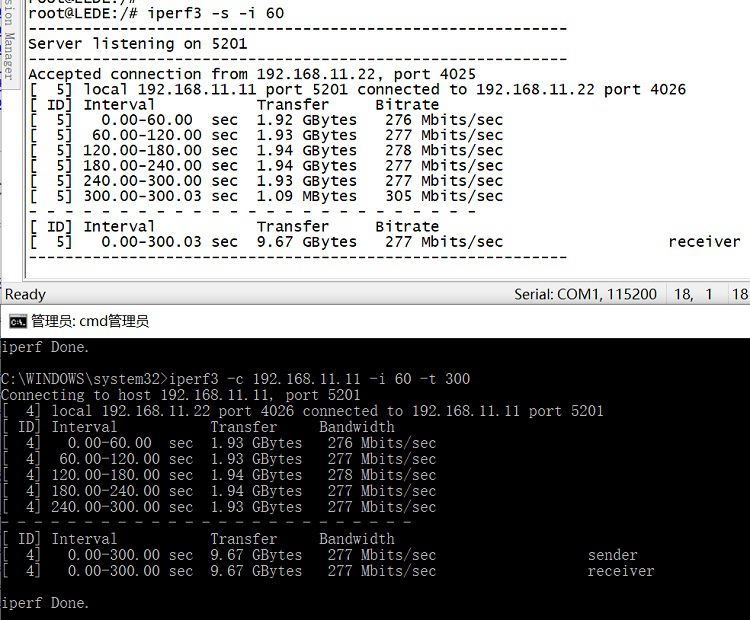
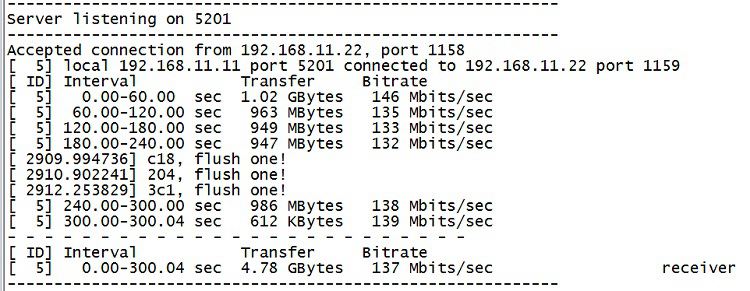
5.1.2.iperf speed test
5 speed distance test
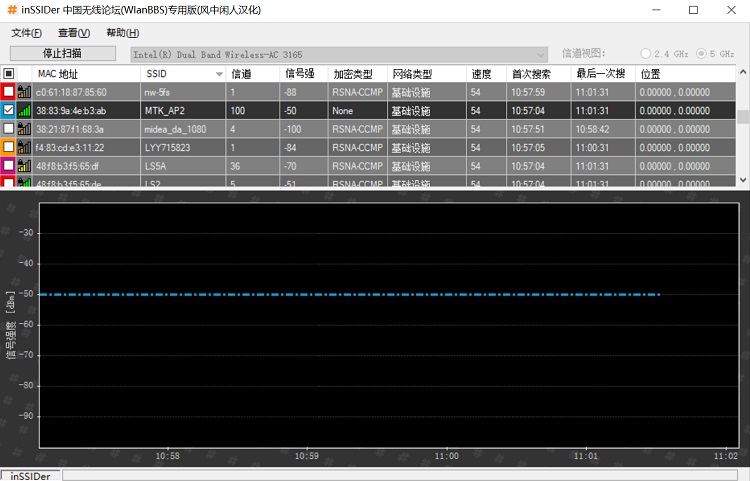
5.2.1.signal strength
5.2.2.iperf speed test
10 speed distance test
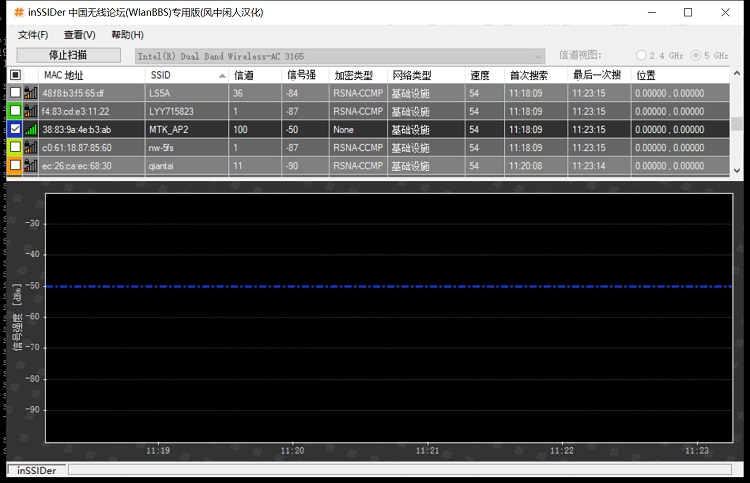
5.3.1.signal strength
5.3.2.iperf speed test
功耗测试
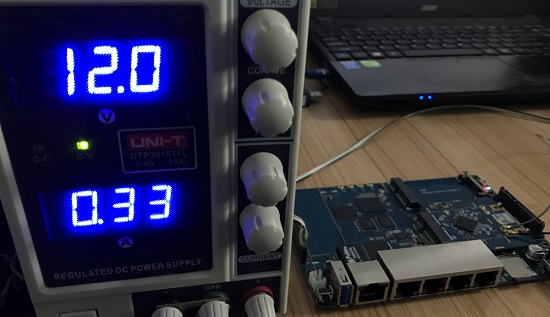
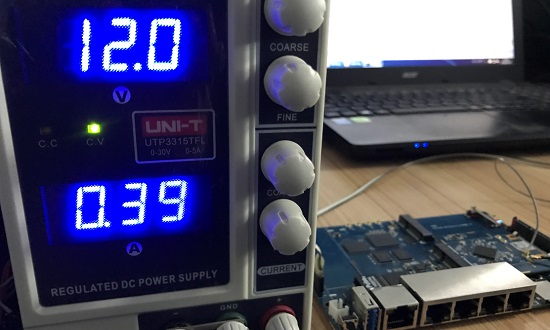
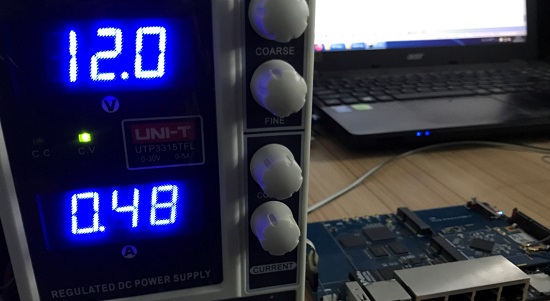
DC直流电源设置为12V输出
6.1.BPI-R64上电后,330mA
6.2.打开MT7615并且笔记本连接wifi后,390mA
6.3.iperf测试时,480mA
