Difference between revisions of "BPI-Nano robot 机器人扩展板"
(→Software) |
|||
| (3 intermediate revisions by the same user not shown) | |||
| Line 16: | Line 16: | ||
=Hardware= | =Hardware= | ||
| − | == | + | ==技术规格== |
| − | * | + | *驱动芯片:L293B |
| − | * | + | *逻辑工作电压:5V DC |
| − | * | + | *电机驱动电压:7-12V DC |
| − | * | + | *最大驱动电流:1A(每路) |
| − | * | + | *电机驱动使用引脚:PIN4/5/6/7(Arduino控制器) |
| − | * | + | *平面尺寸:56x57mm |
| − | == | + | ==硬件接口示意== |
[[File:BPI-Nano_robort_interface.png]] | [[File:BPI-Nano_robort_interface.png]] | ||
| Line 30: | Line 30: | ||
[[File:BPI-Nano_robort_interface_1.png]] | [[File:BPI-Nano_robort_interface_1.png]] | ||
| − | == | + | ==PIN引脚定义== |
{| class="wikitable" | {| class="wikitable" | ||
| Line 48: | Line 48: | ||
|} | |} | ||
| − | = | + | =软件= |
| − | == | + | ==示例代码== |
//This motor shield use Pin 2,3,4,5,6,7,8 to control the motor | //This motor shield use Pin 2,3,4,5,6,7,8 to control the motor | ||
Latest revision as of 19:05, 9 October 2019
Overview
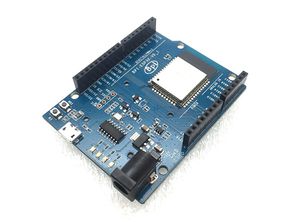
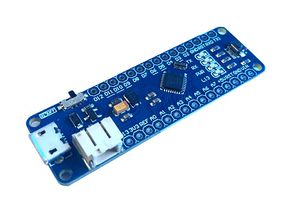
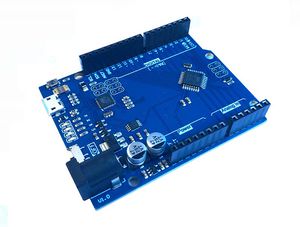
BPI-UNO32 with ESP32
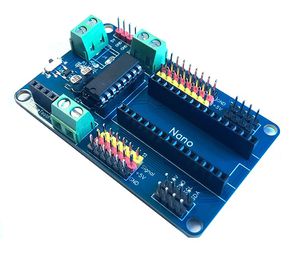
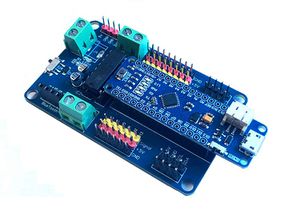
BPI-Nano robot 机器人扩展板是为ardino nano板与arduino Nano兼容板设计. 由Harsh Dethe设计,由比派科技生产。
BPI-NANO robot 控制器可用的电机驱动扩展板,支持双路电机控制,单路最大电流可达1A.
Arduino标准插针设计接口,也可给Arduino Nano配合使用。可应用于小型移动机器人的开发。
Hardware
技术规格
- 驱动芯片:L293B
- 逻辑工作电压:5V DC
- 电机驱动电压:7-12V DC
- 最大驱动电流:1A(每路)
- 电机驱动使用引脚:PIN4/5/6/7(Arduino控制器)
- 平面尺寸:56x57mm
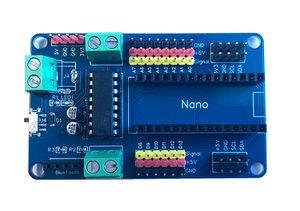
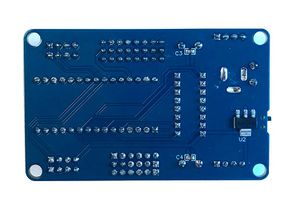
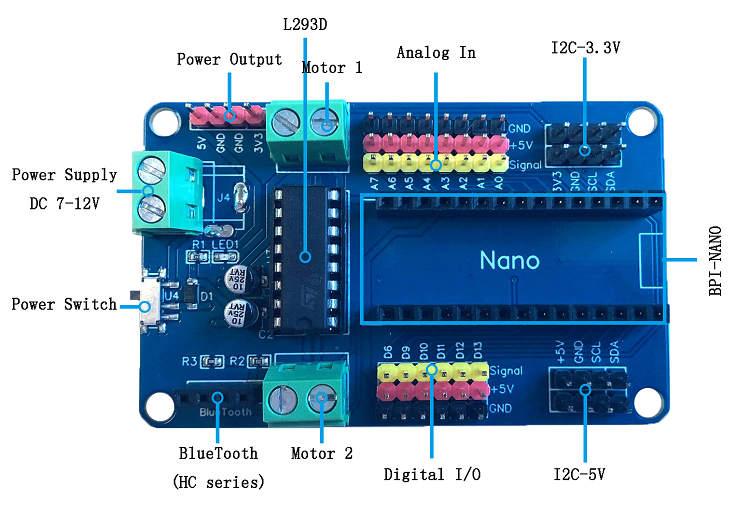
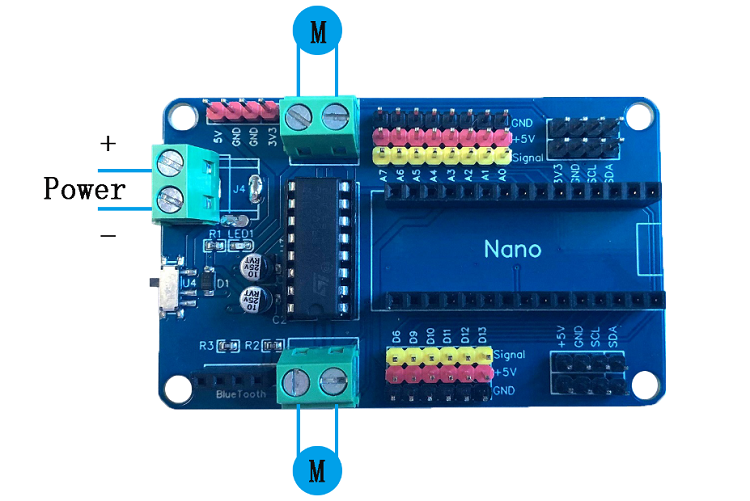
硬件接口示意
PIN引脚定义
| BPI-Nano aruino Nano robort GPIO pin define | |||
| Pin | Function | ||
| Digital 2、4 | Motor2 Steering control, 2 high level, 4 low level positive turn;Whereas inversion | ||
| Digital 3 | Motor 2 Enable interface, high level enable | ||
| Digital 5 | Motor 1 Enable interface, high level enable | ||
| Digital 7、8 | Motor 1 Steering control, 7 high level, 8 low level positive turn;Whereas inversion | ||
软件
示例代码
//This motor shield use Pin 2,3,4,5,6,7,8 to control the motor
// Just plug the nano into the shield
// Simply connect your motors to M1 ,M2
// Upload the code to BPI-NANO/arduino
// Through serial monitor, type 'a','s', 'w','d','x' to control the motor
// http://www.banana-pi.org/
//  http://www.banana-pi.org/
// Last modified on 20/09/2019
int EN1 = 5;  //Motor 1 Enable
int EN2 = 3;  //Motor 2 Enable
int IN1 = 7;
int IN2 = 8; //Motor 1
int IN3 = 2;
int IN4 = 4; //Motor 2
void Motor1(int ENA, boolean reverse)
       {
         digitalWrite(ENA,HIGH);
        if(reverse)
        {
         digitalWrite(IN1,HIGH);
         digitalWrite(IN2,LOW);
        }
       else
       {
         digitalWrite(IN1,LOW);
         digitalWrite(IN1,HIGH);
        }
       }
void Motor2(int ENB, boolean reverse)
       {
         digitalWrite(ENB,HIGH);
        if(reverse)
        {
         digitalWrite(IN3,HIGH);
         digitalWrite(IN4,LOW);
        }
       else
       {
         digitalWrite(IN3,LOW);
         digitalWrite(IN4,HIGH);
        }
       }
void setup()
{
   int i;
   for(i=2;i<=8;i++)  //For BPI-NANO Motor Shield
   pinMode(i, OUTPUT);  //set pin 2,3,4,5,6,78 to output mode
   Serial.begin(9600);
}
void loop()
{
 int x,delay_en;
 char val;
 while(1)
 {
   val = Serial.read();
   if(val!=-1)
      {
         switch(val)
          {
            case 'w'://Move ahead
                       Motor1(100,true);
                       Motor2(100,true);
                        break;
            case 's'://move back
                       Motor1(100,false);
                       Motor2(100,false);
                        break;
            case 'a'://turn left
                       Motor1(100,true);
                       Motor2(100,false);
                        break;
            case 'd'://turn right
                       Motor1(100,false);
                       Motor2(100,true);
                       break;
              case 'x'://stop
                       digitalWrite(ENA,LOW);
                       digitalWrite(ENB,LOW);
                        break;
          }
      }
  }
}
