Difference between revisions of "Getting Started with M2P"
(→Camara function) |
JackZengWiki (talk | contribs) (→WringPi) |
||
| Line 74: | Line 74: | ||
* GitHub: https://github.com/BPI-SINOVOIP/BPI-WiringPi2.git | * GitHub: https://github.com/BPI-SINOVOIP/BPI-WiringPi2.git | ||
* We also have built-in test command in /usr/local/bin | * We also have built-in test command in /usr/local/bin | ||
| + | |||
| + | ====RGB 1602 LCD==== | ||
* Execute bpi_test_lcd1602 | * Execute bpi_test_lcd1602 | ||
| − | |||
[[Image: WringPi_1602_LCD.png]] | [[Image: WringPi_1602_LCD.png]] | ||
| − | + | ====0.96 Inch OLED Display==== | |
* Execute bpi_test_52pi | * Execute bpi_test_52pi | ||
| − | |||
[[Image: WringPi_0.96_OLED.png]] | [[Image: WringPi_0.96_OLED.png]] | ||
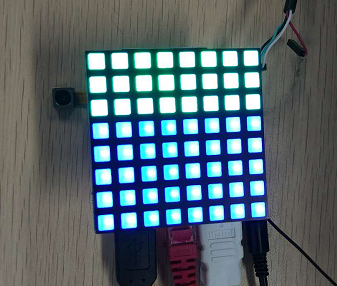
| − | * 8x8 | + | ====8x8 RGB LED Martix==== |
| + | * Firstly you need a GPIO Extend Board for 8x8 LED Martix | ||
| + | [[Image: WringPi_LED_Martix_Extend_Board.png]] | ||
| + | |||
| + | * Execute bpi_test_gpio40 | ||
[[Image: WringPi_LED_Martix.png]] | [[Image: WringPi_LED_Martix.png]] | ||
Revision as of 01:08, 15 May 2018
Contents
Introduction
Banana Pi M2+ is mini size development board that offers great computing performance in an ultra portable form factor.It is a 65mm*65mm fantastic mini size board with Allwinner H series chips. It comes with different versions but share the same interfaces.
Read more: Banana Pi BPI-M2+
BPI-M2+ H3
Key Features
- Quad-core 1.2GHz Cortex-A7 H3
- 1GB DDR3
- 8GB eMMC onboard
- WiFi and BlueTooth onboard
- 10/100/1000Mbps Ethernet Port
Development
Let's get start to develop on BPI-M2P, see amazing things happen.
Basic Development
Prepare to develop
1.Prepare 8G/above TF card, USB-Serial interface, PC with Ubuntu System
2.Using your USB-Serial Connect debug console on M2P
Load your first image on M2P
Build your own image on M2P
Ubuntu
Armbian
Advanced Development
GPIO
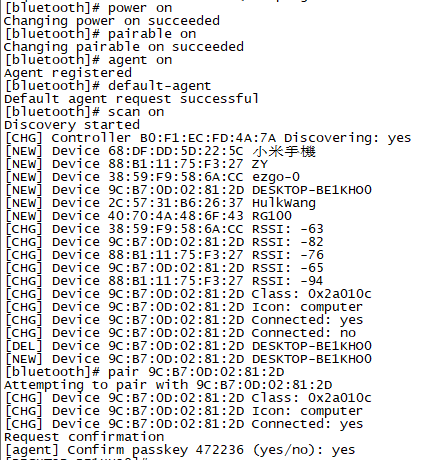
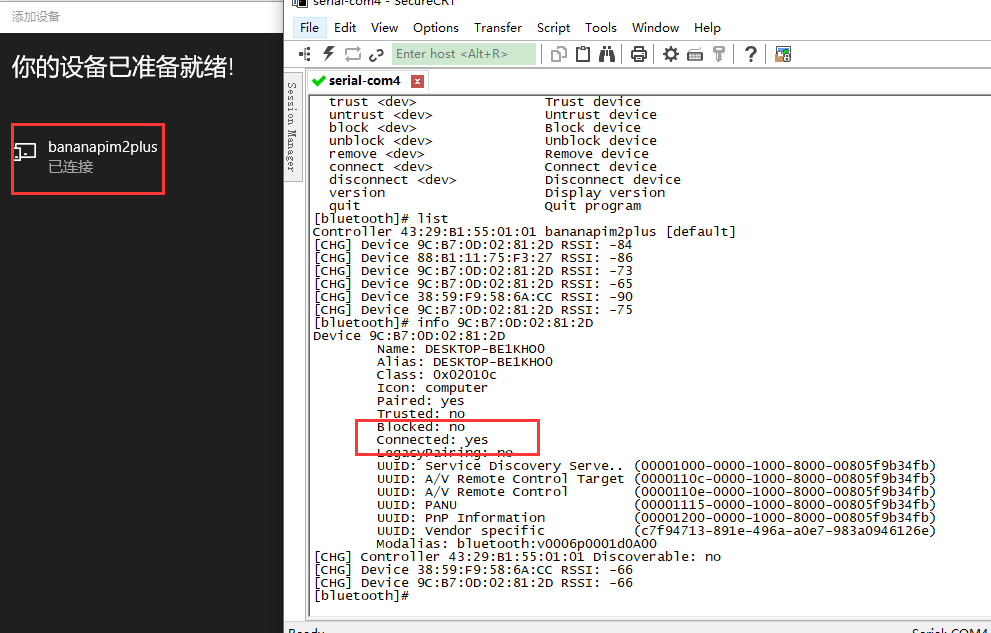
Bluetooth
- Use bluetoothctl tool to operate BT
- Execute "bluetoothctl"
- If you don't know how to use bluetoothctl, type help, you will see more commands
- Execute these commands:
WiFi and Ap mode on M2P
WiFi Client
AP mode
Clear boot
- git clone https://github.com/BPI-SINOVOIP/BPI-files/tree/master/SD/100MB
- bpi-bootsel BPI-cleanboot-8k.img.gz /dev/sdX
Camara function
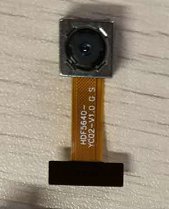
We use HDF5640 camara.
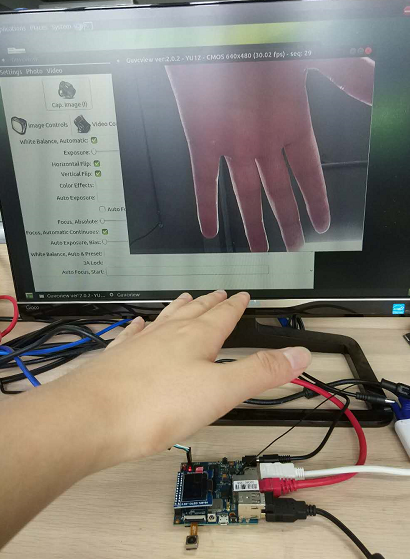
Guvcview
- Use your UI interface to operate camara
- Applications -> Sound & Video -> guvcview
- We also have built-in command in /usr/local/bin to test camara
- test_ov5640_image_mode.sh
- cameratest.sh
IR function
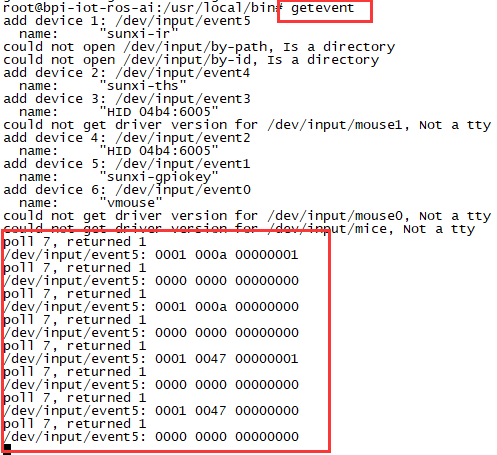
- Execute getevent
- Use your IR device to send information to M2P
WringPi
- GitHub: https://github.com/BPI-SINOVOIP/BPI-WiringPi2.git
- We also have built-in test command in /usr/local/bin
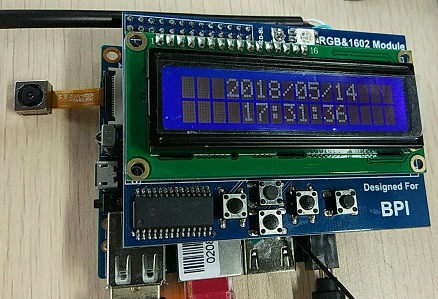
RGB 1602 LCD
- Execute bpi_test_lcd1602
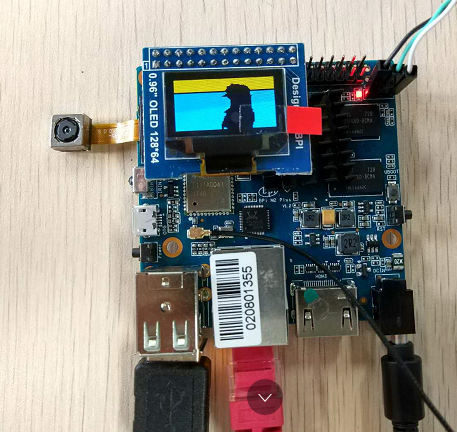
0.96 Inch OLED Display
- Execute bpi_test_52pi
8x8 RGB LED Martix
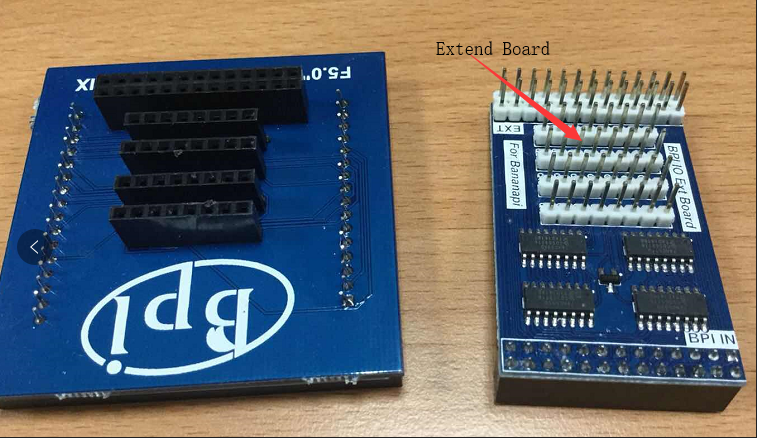
- Firstly you need a GPIO Extend Board for 8x8 LED Martix
- Execute bpi_test_gpio40
